Building the Skids
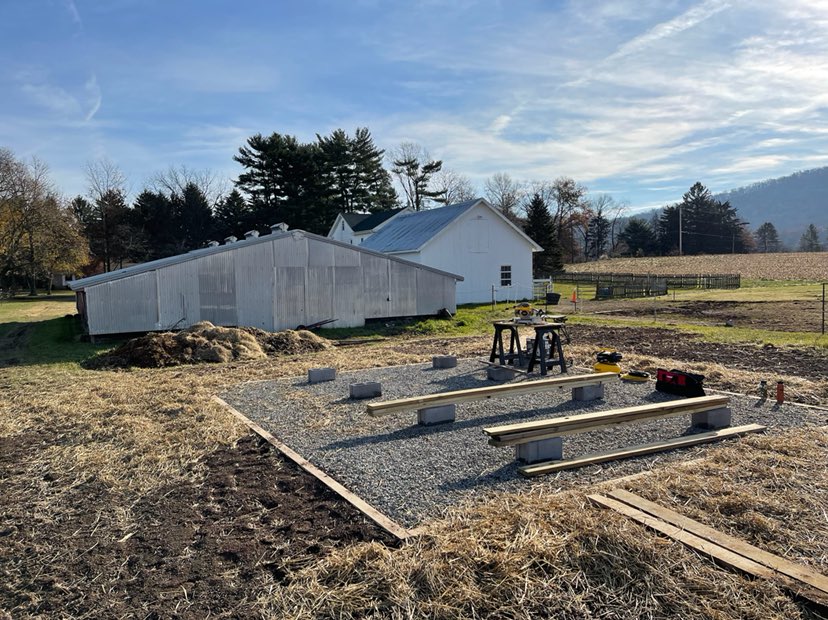
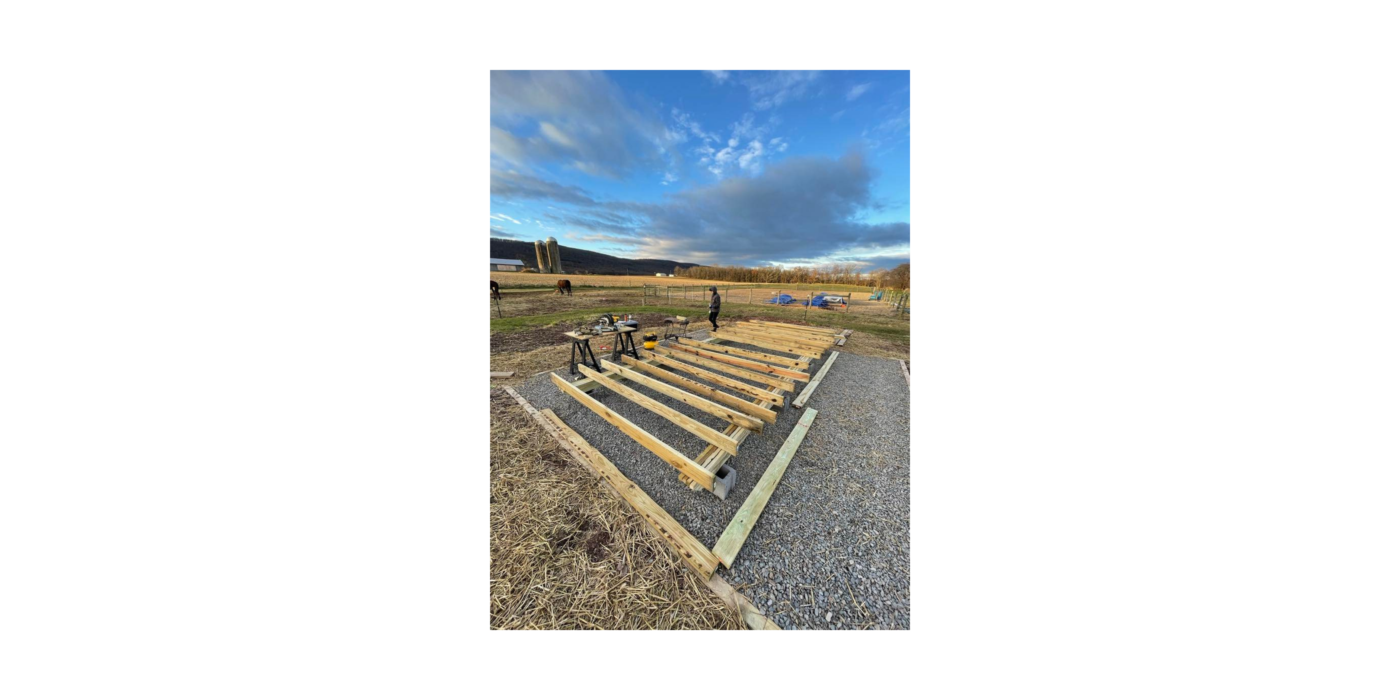
The building plans call for the house to be built on two 6×6″ skids that allow the house to be picked up, put on a trailer, and moved to a new location. The skids are set on 8 concrete blocks, four per skid, and secured to the foundation pad with auger-style shed anchors.
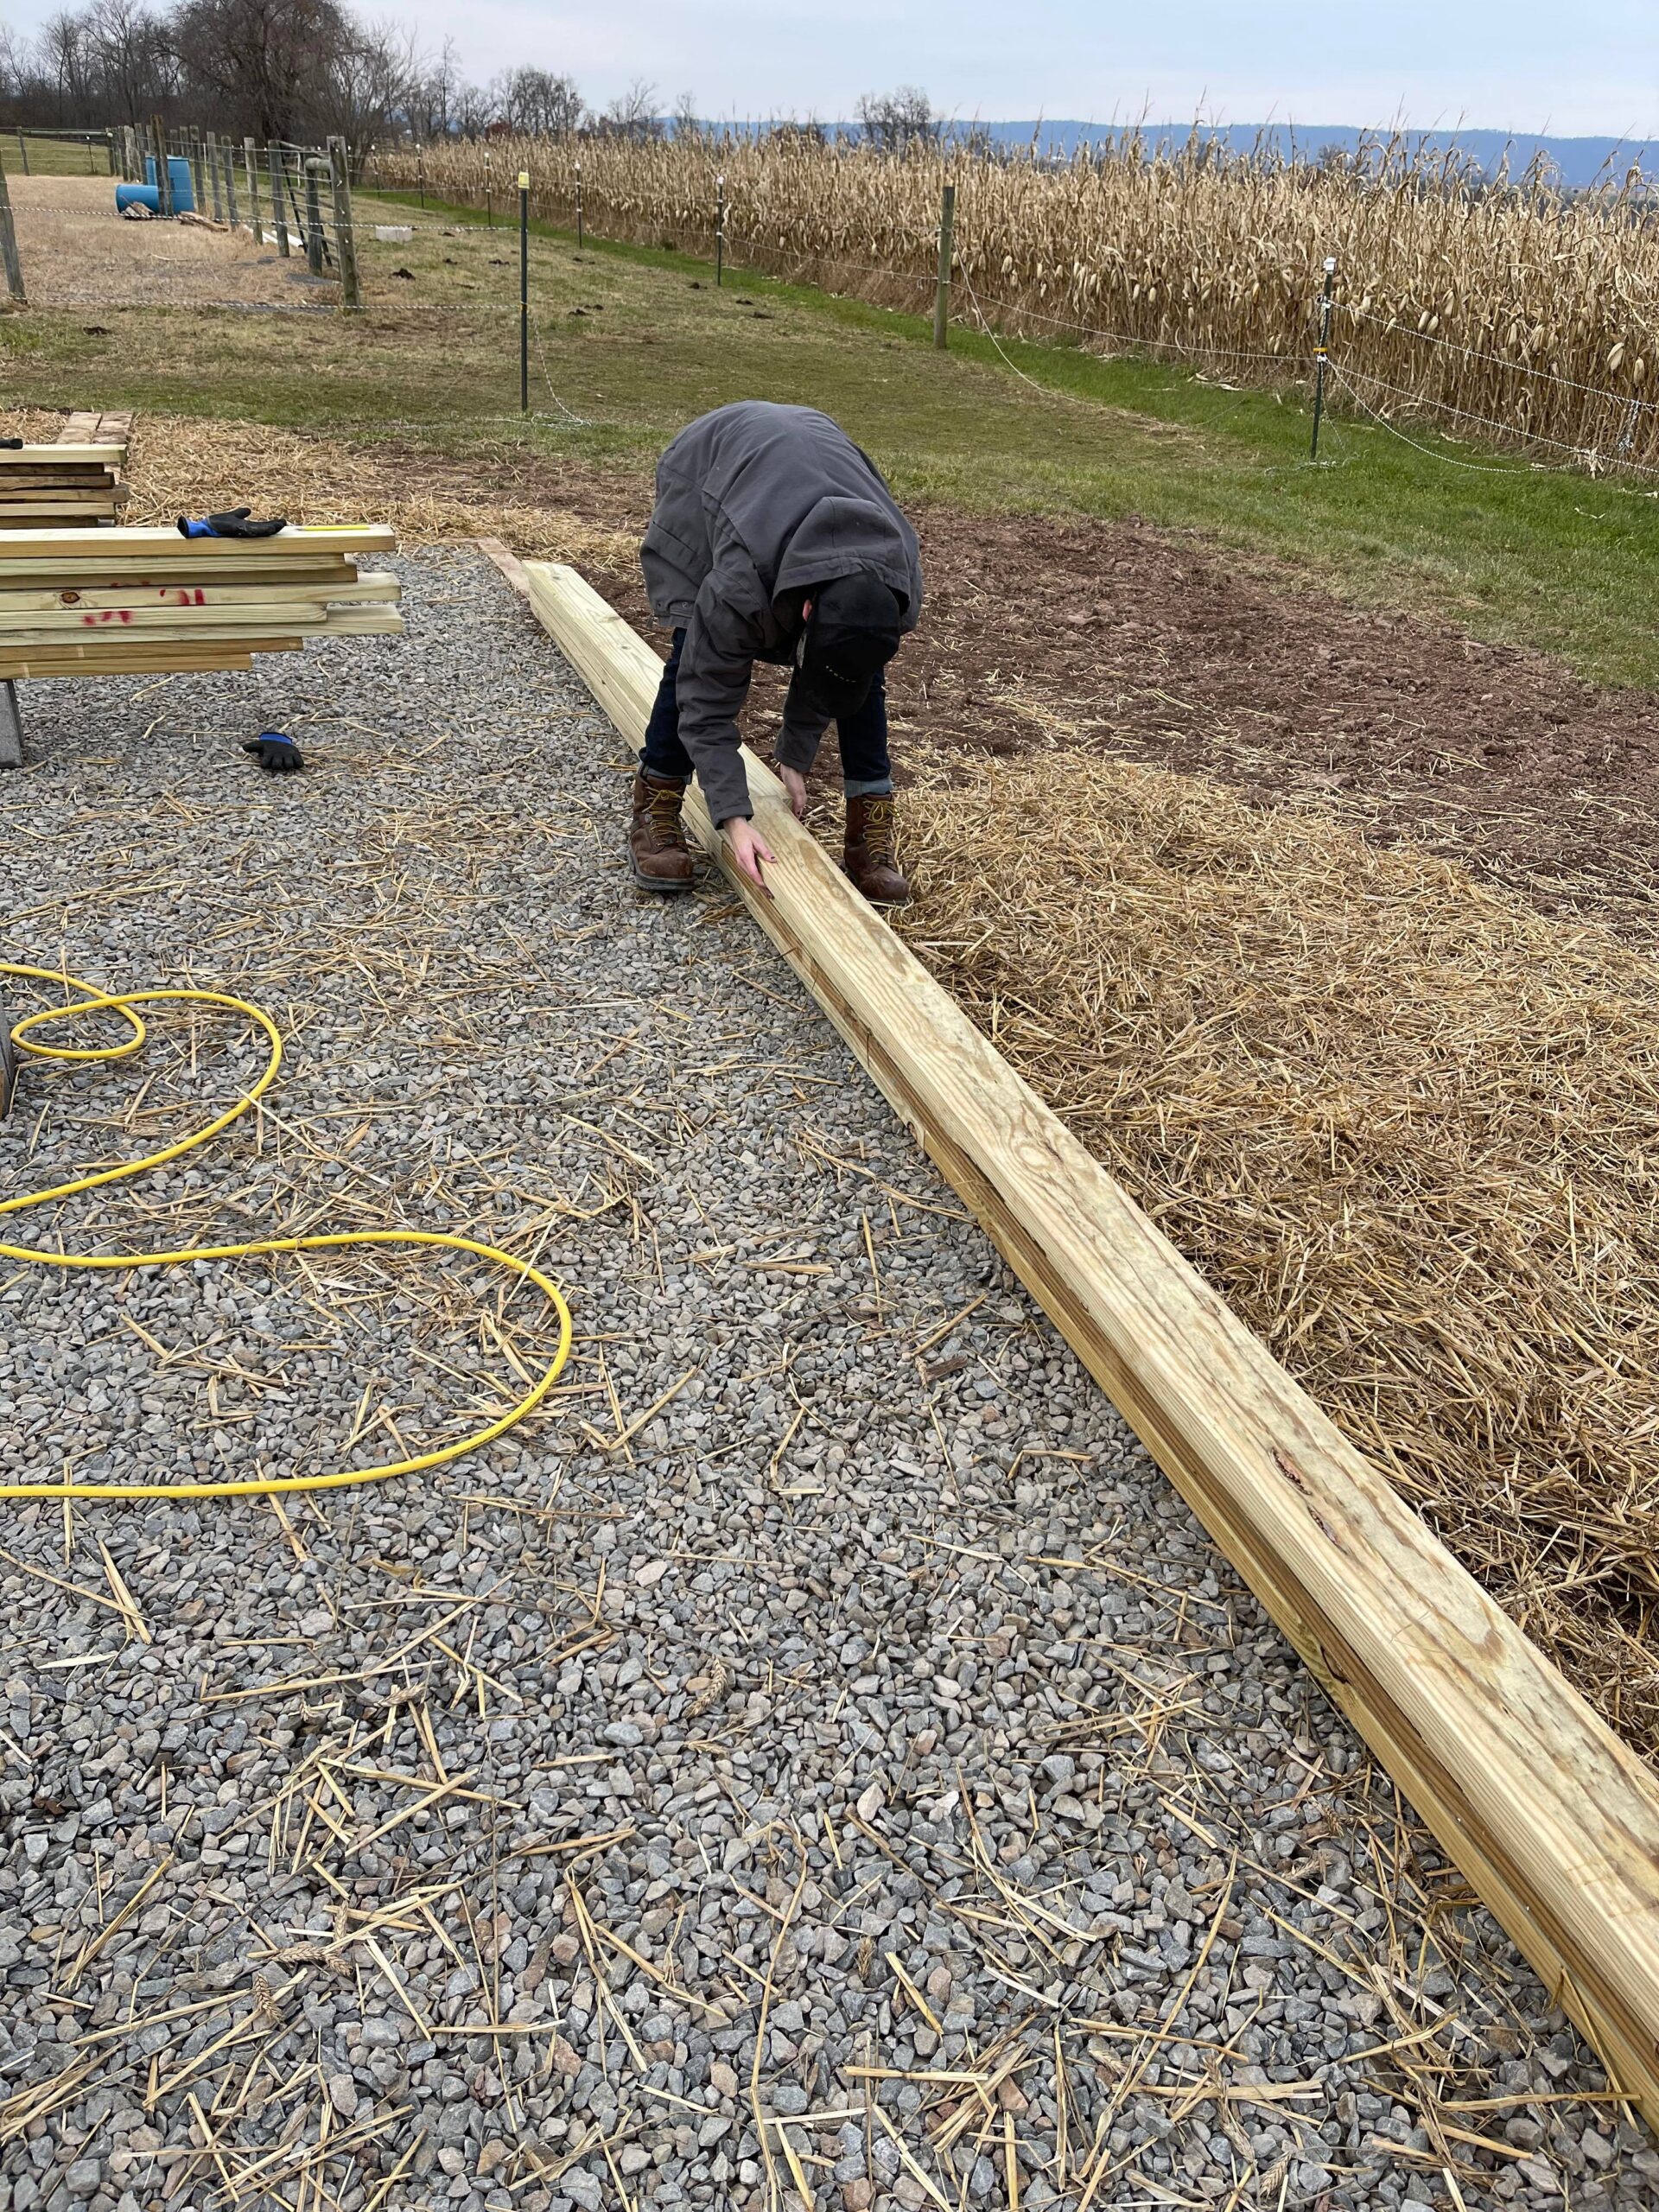
The skids are formed by 8-foot and 12-foot lengths of 2×6 boards nailed together with the seams staggered. The ends of the skids are cut at an angle to make the house easier to pick up.

As you can see, I was very pleased to find that the skids were level once placed on the concrete blocks. Building the skids was a great introduction to building, as I got to use a framing nail gun and miter saw for the very first time and get some practice with a fairly simple project before embarking on the floor framing.
Framing the Floor
The floor is built from 2×6 pressure-treated lumber. The building plans called for joists spaced 24″ on center, but I wanted a stronger floor so I opted to upgrade to 16″ on center.
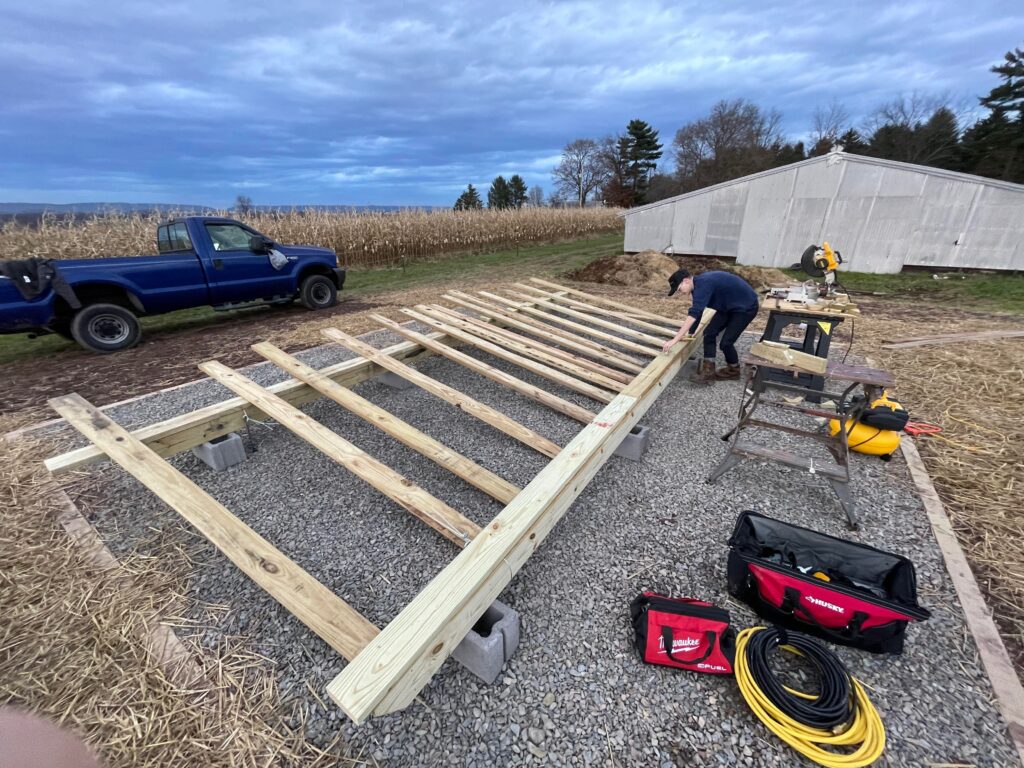
This was my first framing project of any kind, so there was a lot to learn and I was nervous about making serious mistakes at this point that could impact the strength and stability of my whole house. We moved very slowly, carefully marking the rim joists and laying out all of the floor joists before beginning. Once we had everything laid out, we started nailing everything together and it went surprisingly smoothly.
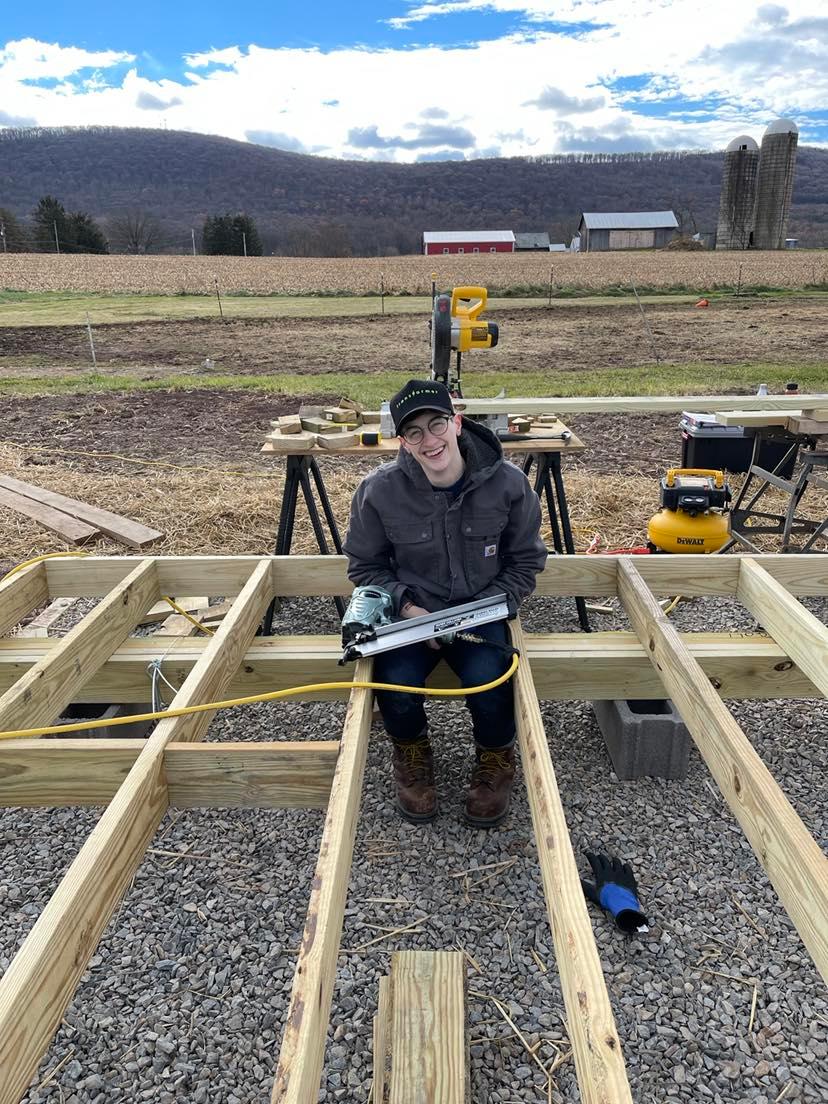
Once we nailed together all the joists, we started installing the blocking to give us something to nail the plywood flooring into. It was at this stage that I discovered I fit perfectly into the 16″ gaps between the joists and could make a little perch out of the skids.
Adding the blocking proved to be a bit more challenging than expected, as the joists were not precisely the same distance apart and we had to adjust the length of each piece of blocking. This was my first adventure in toenailing, which proved much more challenging than regular nailing with the framing nailer.
After a couple of days of slow, steady work, we finished the framing and blocking.
Vapor Barrier & Sheathing
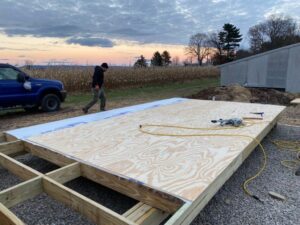
Once we finished framing the floor, we tacked the house wrap onto the house section of the floor, leaving the front four feet uncovered for the porch. After tacking down the house wrap, we moved onto installing the plywood over the same area. This is designed to be the bottom of the house and serves as one-half of the plywood sandwich that will hold the floor insulation in place.
The Big Flip
Once we finished installing the bottom floor sheathing, we had to move on to the most difficult part of the floor build: flipping the whole thing over. We were not prepared for how heavy the floor would be at this stage, with all of that 2×6″ lumber and 3/4″ plywood. We had to call in reinforcements and it took a total of six of us to tilt the floor up onto one side, lean it over and slowly lower it down, and then move it back into position on top of the skids. Because we needed all hands on deck for this maneuver, there aren’t any pictures documenting this part of the build.
Drain Lines, Insulation, and Sheathing Round 2

Once we successfully flipped the floor and got it back in position, my next project was to install the drain lines for my plumbing — pictured here with the stubs sticking up in the back corner. My building plans are just for the structure itself and don’t include any electrical or plumbing diagrams, so I worked with my father to develop my own plumbing plan. It was nerve-wracking to hole saw through my beautiful new floor, but the process went relatively smoothly.
Finally, we installed the insulation (R-21 fiberglass batts) between the floor joists and covered that with another layer of 3/4″ CDX.
