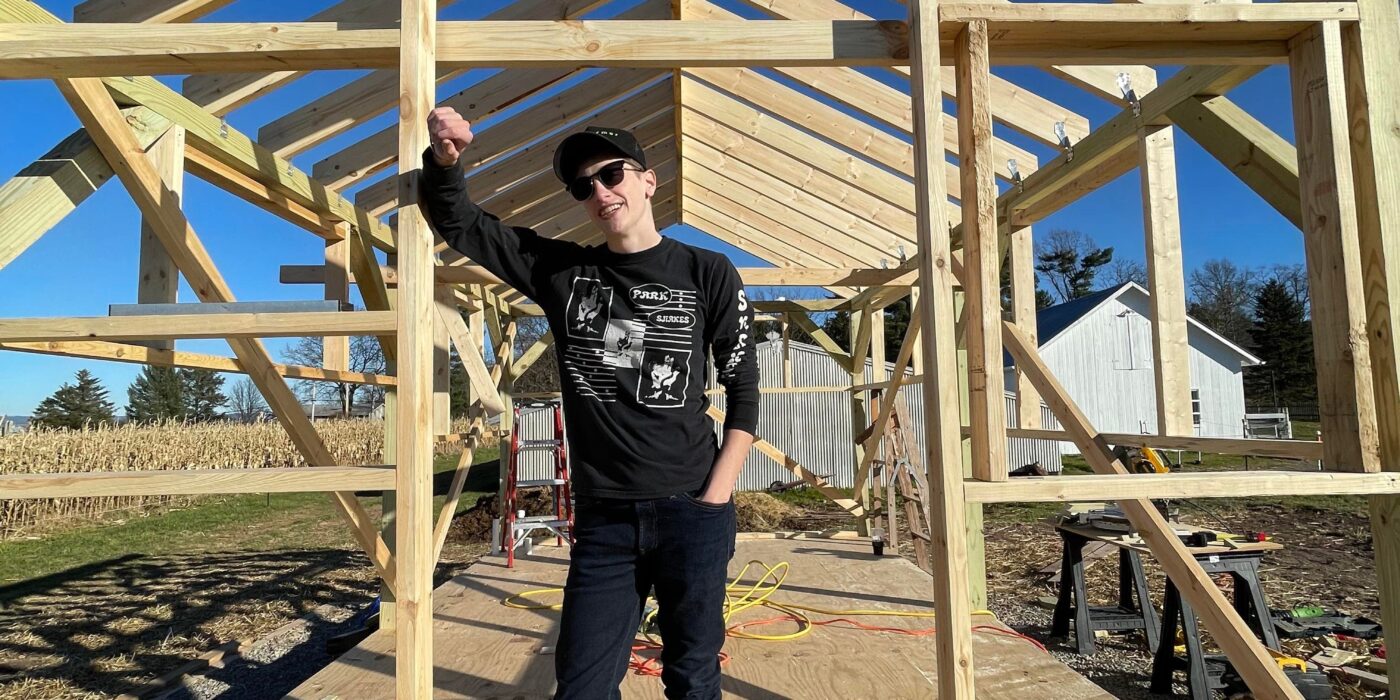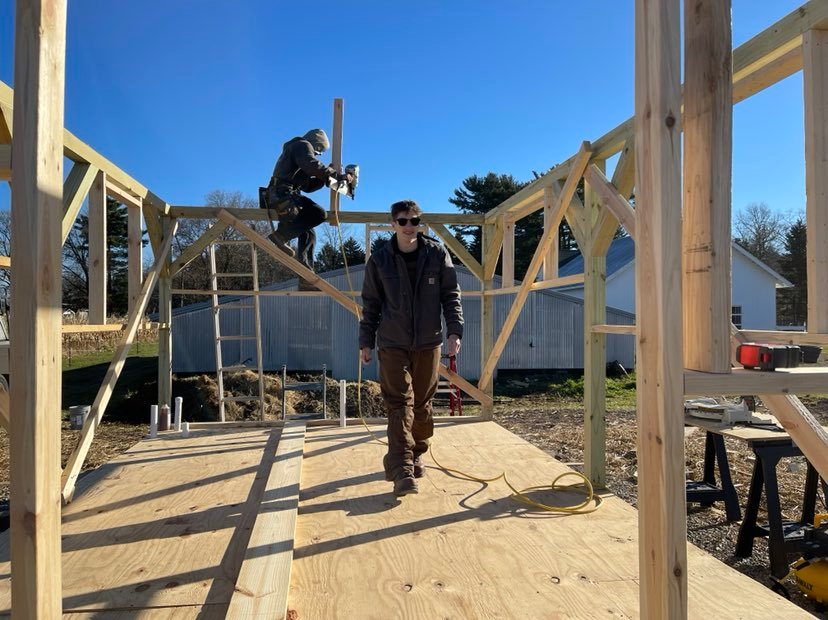
Given the complicated angled cuts required to frame the rafters and my fear of heights, I decided to bring in professionals to help with the roof framing. I hired the same contractor who handled the site preparation, UDA Services, for this job. They sent over two guys who handled the cuts and climbing around on the roof while PR and I provided assistance from the ground.
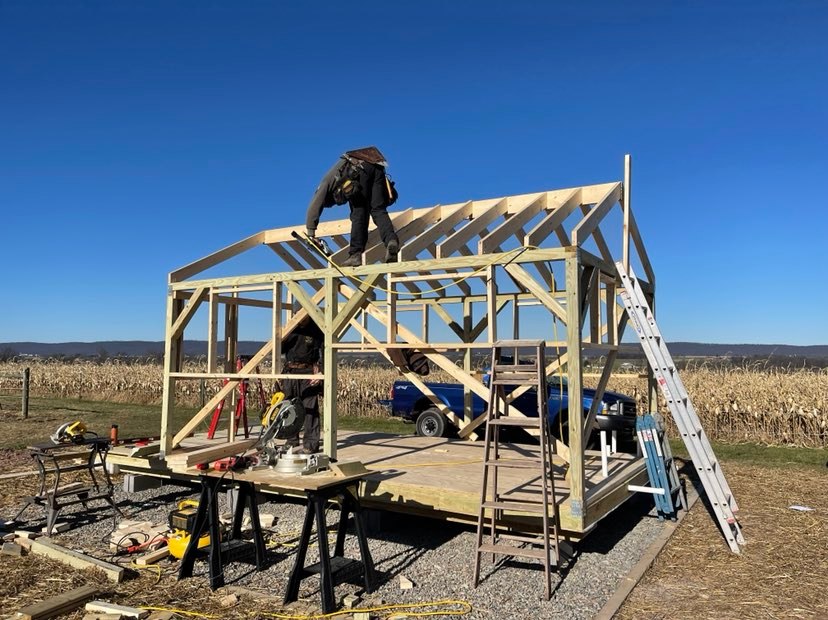
I was so impressed with the ease with which these guys climbed around on the roof and was so glad I hired professionals to help with the job, as they were able to frame the roof in about 3 hours while it would have taken us a couple of (terrifying) days. The labor cost just $225 for the half day.
The roof is framed with 2×6″ lumber, with rafters spaced 16″ on center to give more strength and stability than we would have gotten with the 24″ on center rafters specified in the plans.
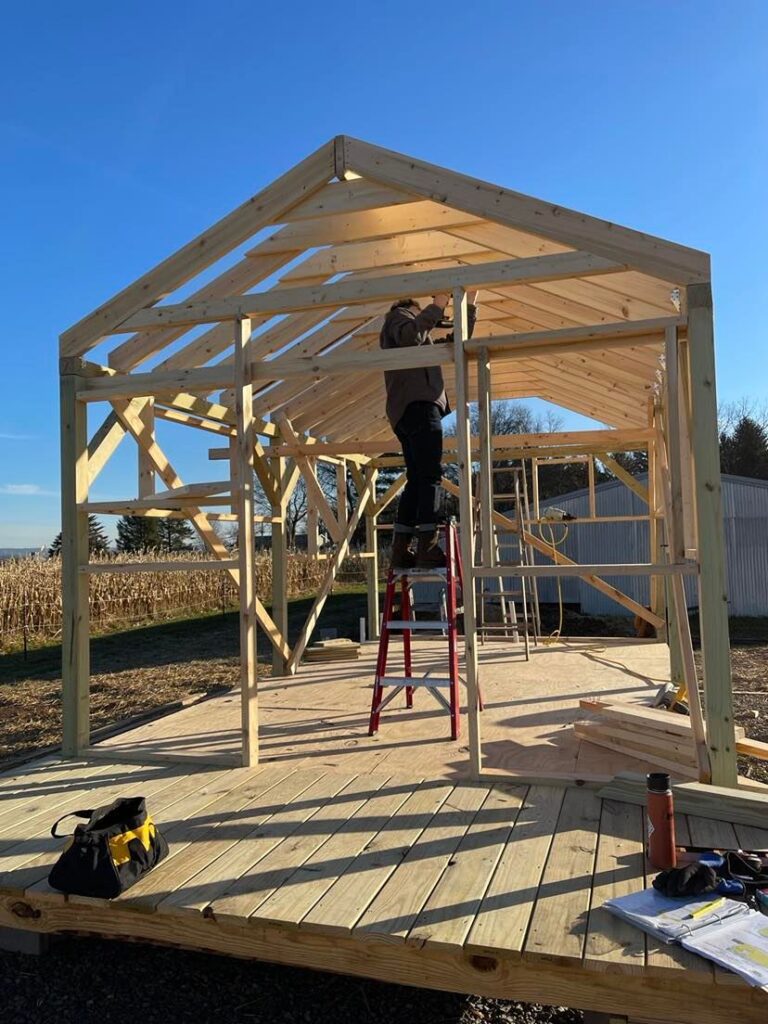
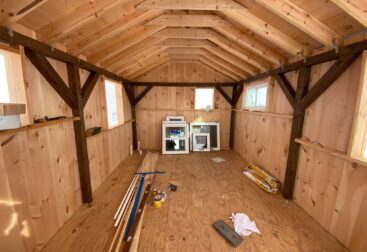
Once the professionals finished the rafter installation, PR and I took over to install the collar ties that help give the rafters more stability and give us something to nail the sheathing to along the center of the ceiling. The collar ties are 2×6″ lumber attached with 4″ Timberlock screws. The challenging aspect of this part of the roof framing was ensuring that all of the collar ties were level and at the same height, since we need to be able to install the ceiling sheathing flush across all of the collar ties. We did our best, but the test will come when we try to install the ceiling sheathing.
The final step was going through an installing metal rafter ties on each of the rafters. I used StrapShot nails and the metal connector nail gun for this.
