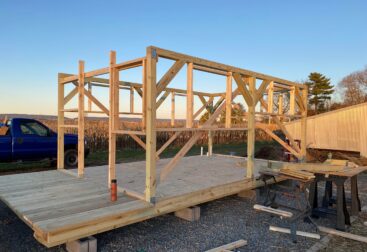
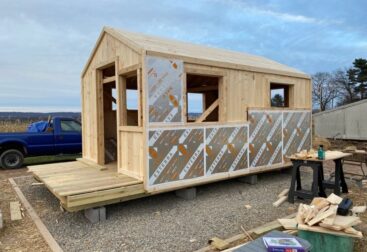
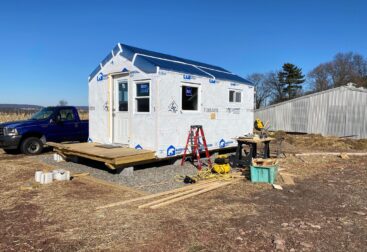
Wall Sheathing
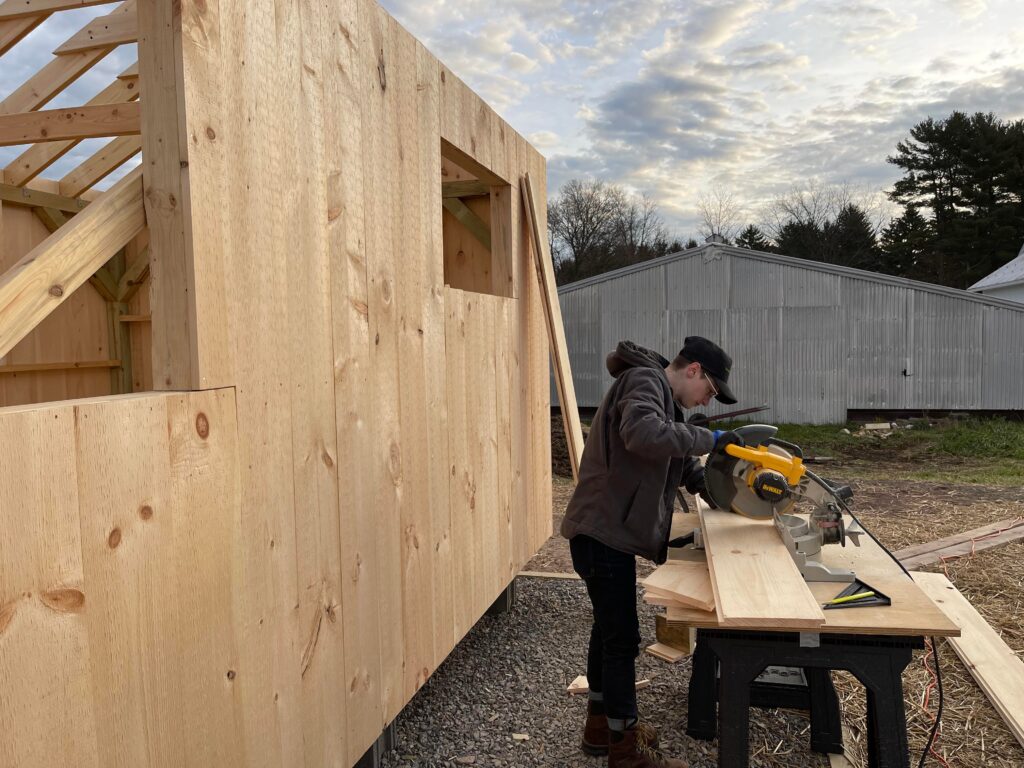
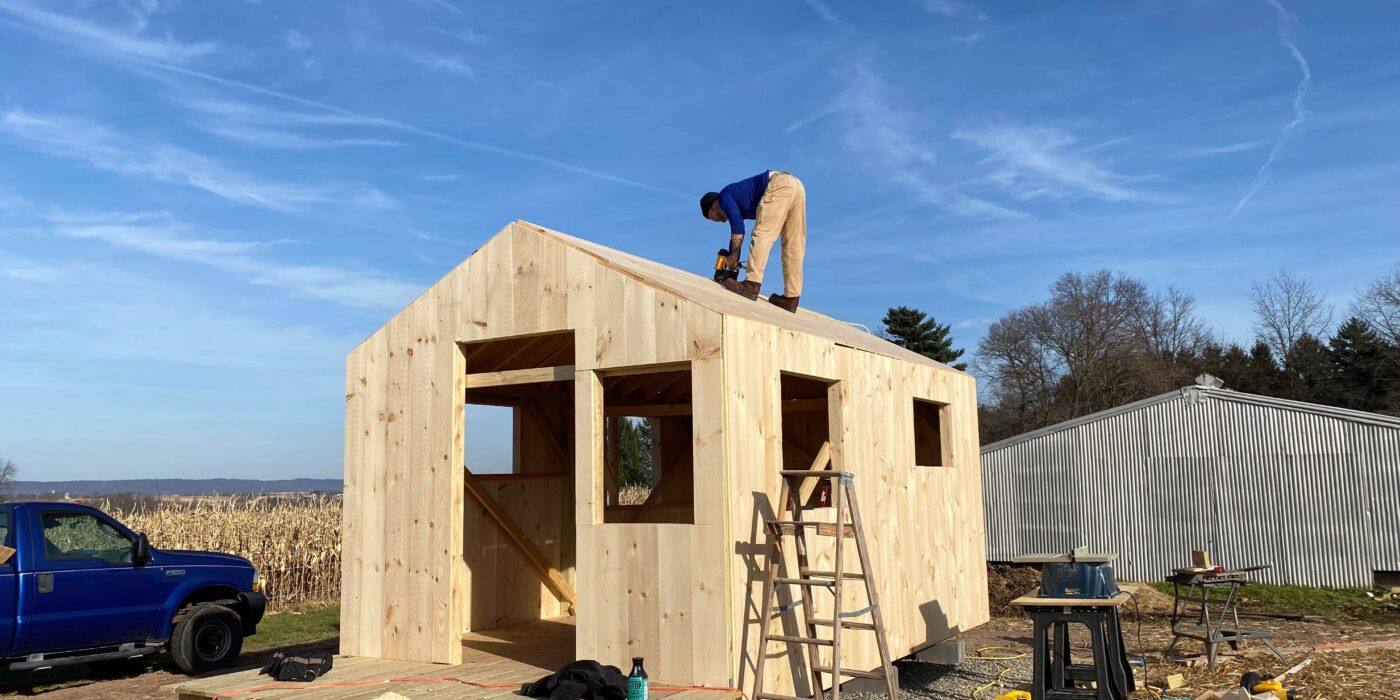
For the first layer of wall sheathing we used 1×10″ shiplap pine boards, cut with a miter saw. The boards are wider than the saw blade can cut, so we had to flip the boards and make cuts on each side. The boards are nailed up with siding nails, which required the purchase of yet another nail gun.
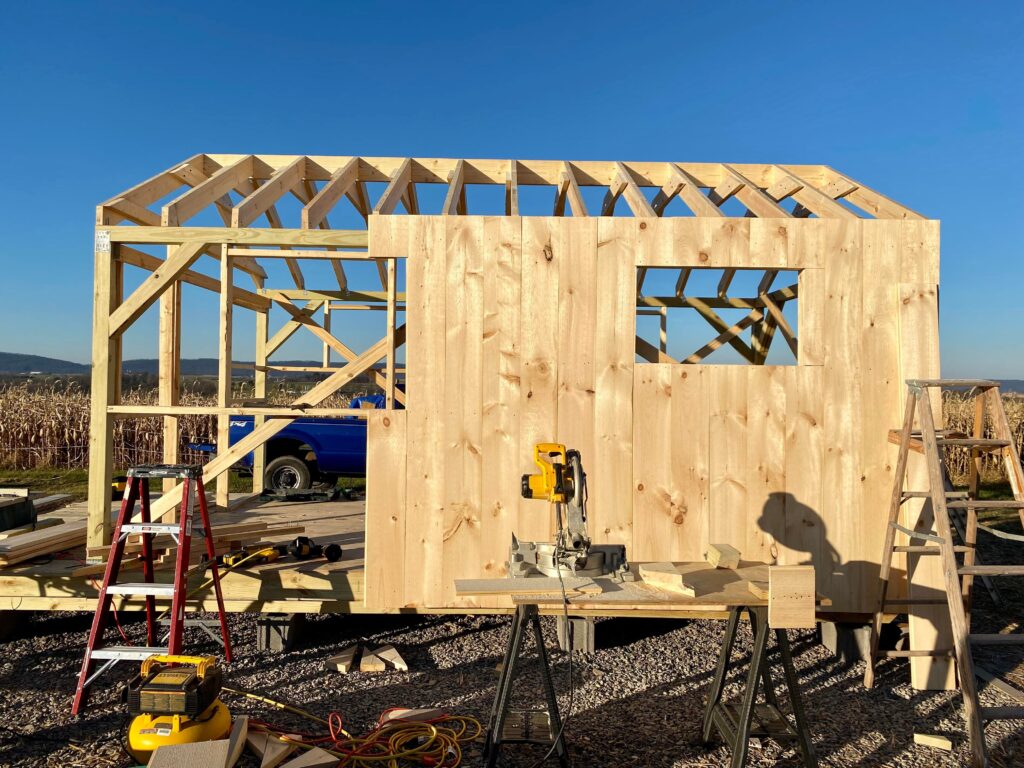
The siding is nailed through to the floor joists, top beam, and the 2×4 nailer that forms the bottom of the window rough openings. We tackled the siding for the two bearing walls first because the process is a bit more straightforward, since the boards are all cut to roughly the same length. We thought the process would be fairly quick, but we were only able to finish a little more than half of one wall during our first half-day of siding.
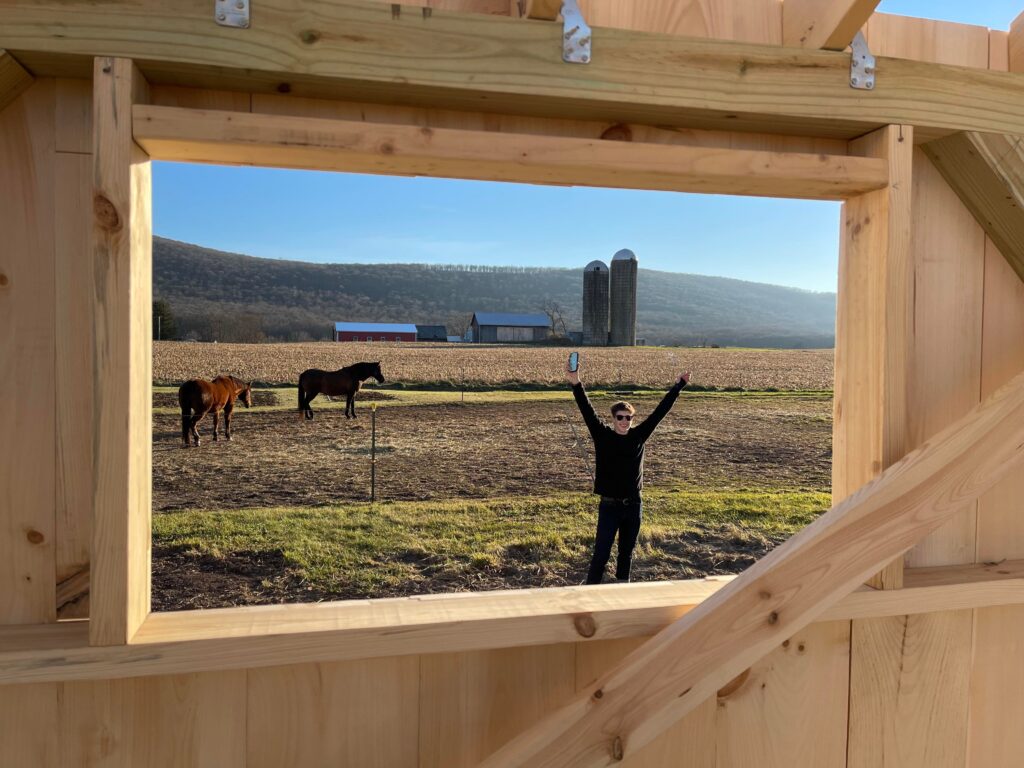
Getting the siding to be flush with the rough openings of each of the windows was a challenge and required a lot of finicky measurements and using the table saw to rip the shiplap boards to the correct width. The table saw is the one tool I’m too afraid to use, so PR handled the cuts. We were so pleased when we finished the first window and the structure started to feel like a real house in a new way.
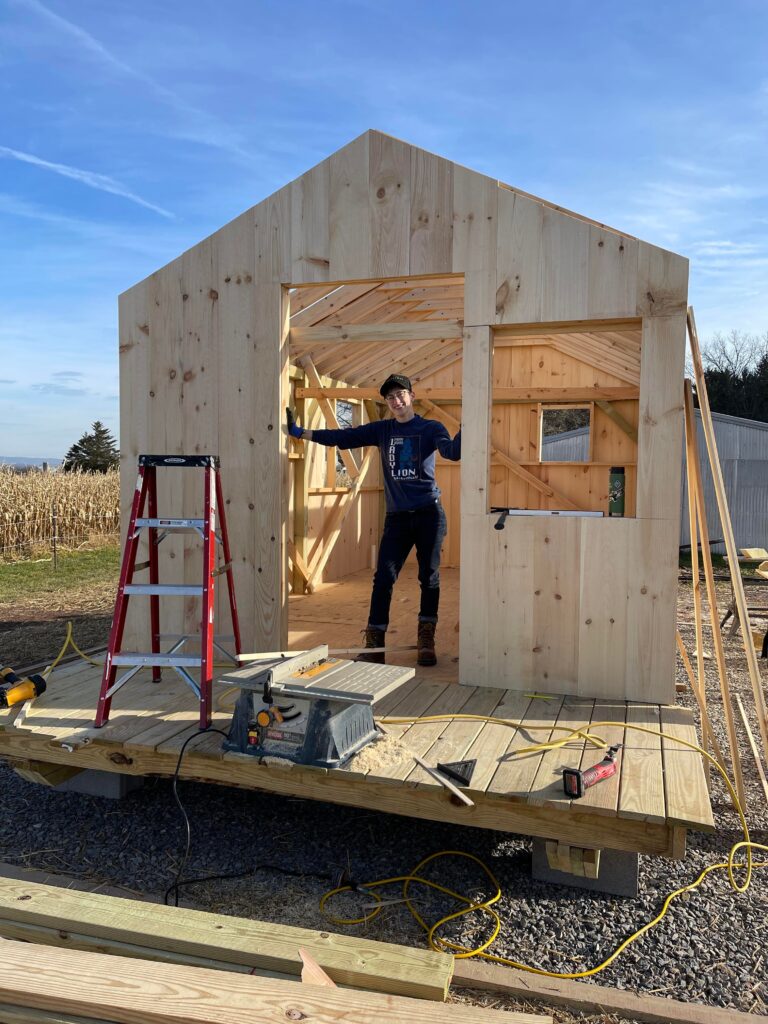
The next challenge was doing the siding on the two gable walls, where the sloped roof means that each board needed to be cut to a different length and cut at a 26-degree angle to match the roof slope.
Roof Sheathing

PR was brave enough to get up on the roof once it was framed and stabilized so there was actually something to walk and stand and sit on. I provided assistance from a safe perch on a ladder. The roof sheathing is made of 1″x12″x16′ pine boards (the most expensive individual pieces of lumber I purchased!) run lengthwise along the house. These boards are quite heavy and it was a bit of an ordeal to get them up onto the roof — definitely a two-person job.
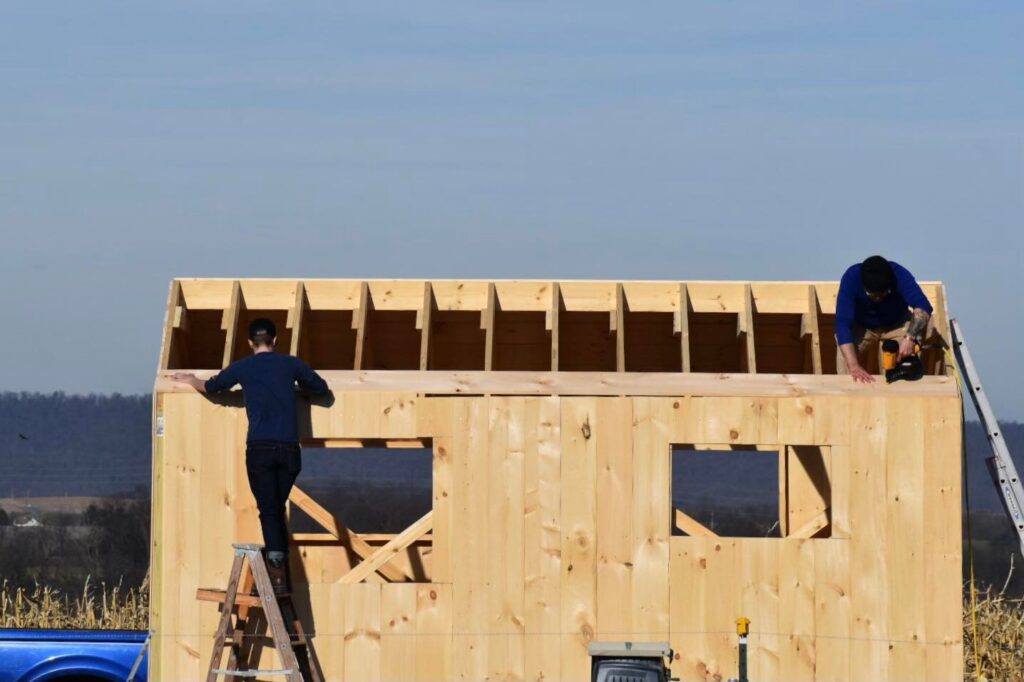
We started at the bottom of the south side of the house and worked our way up. The sheathing is nailed into each rafter with siding nails.
