Framing the Walls: Posts and Beams
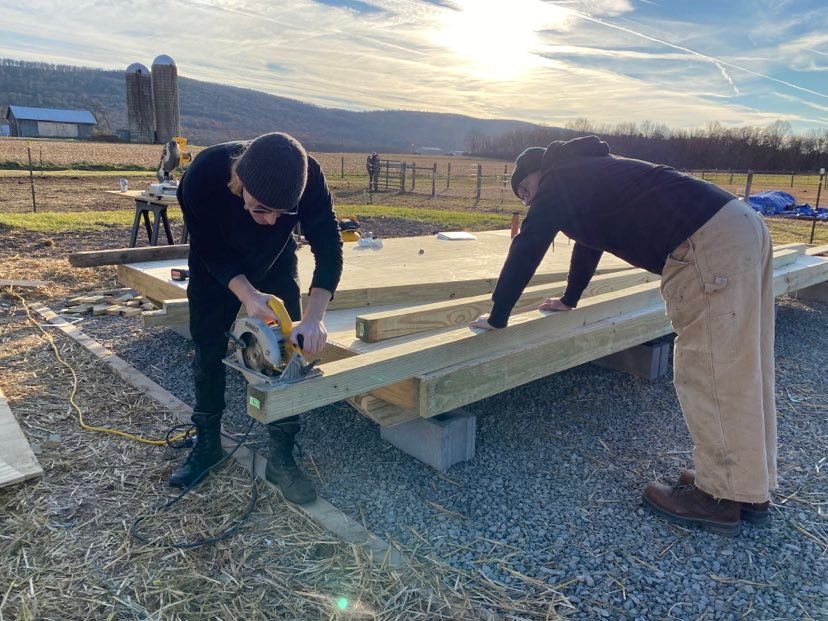
After we finished the floor, we started working on framing the walls. The most challenging part of the wall framing was also the first task we had to tackle: cutting the half lap joints for the beams. The half lap joints allow the beams to nestle on top of one another rather than butting together at the ends. With guidance from YouTube, we embarked on the project. The first step was making a series of thin cuts with the circular saw at the end of each beam.
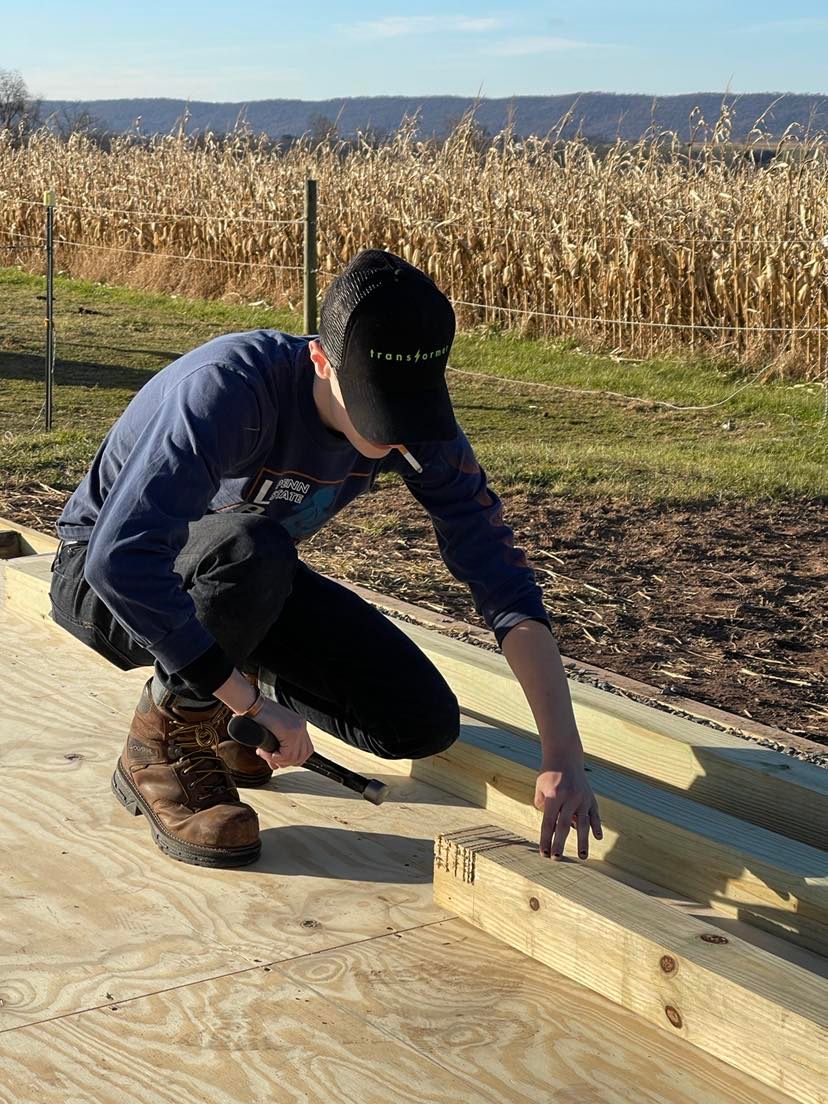
Once we had made about 10 cuts with the circular saw, it was time to hammer out the slices of wood. If the cuts are spaced closely enough, this is a smooth process and the slices break off easily after a couple of taps with the hammer. In our case, we also had to break out the oscillating multi tool to clear out some of the pieces of wood. From there, we sanded the half laps smooth.
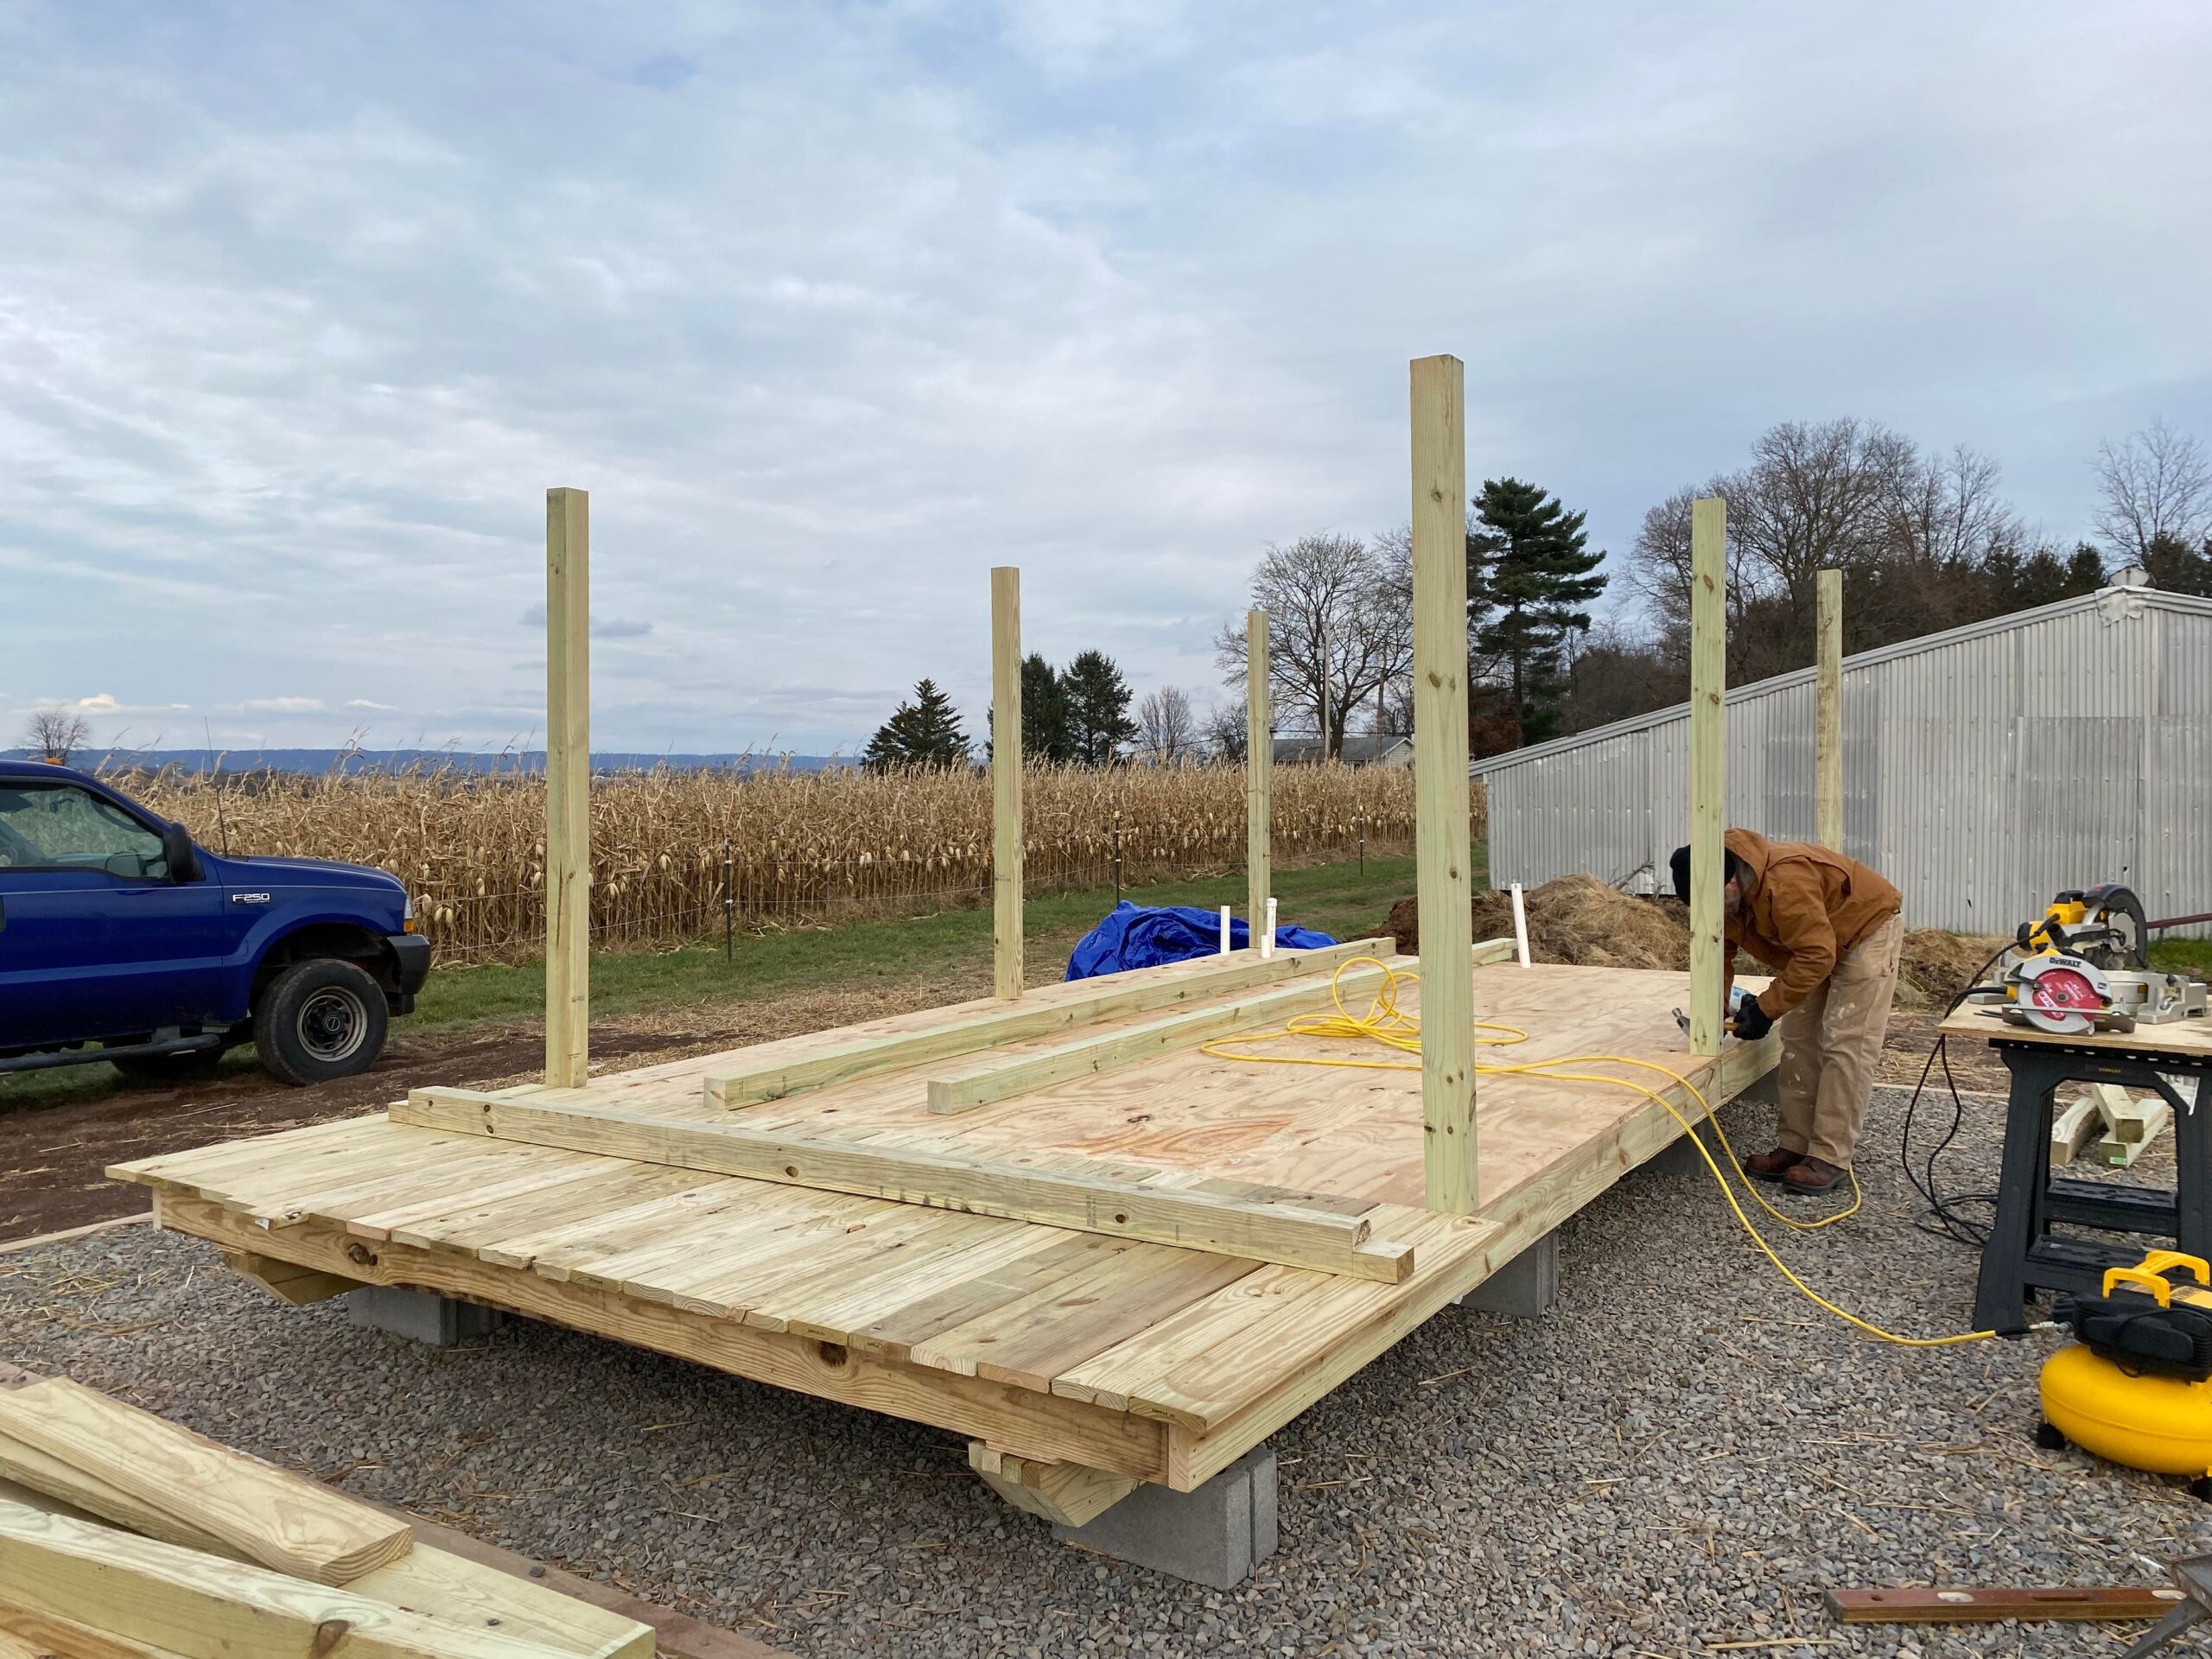
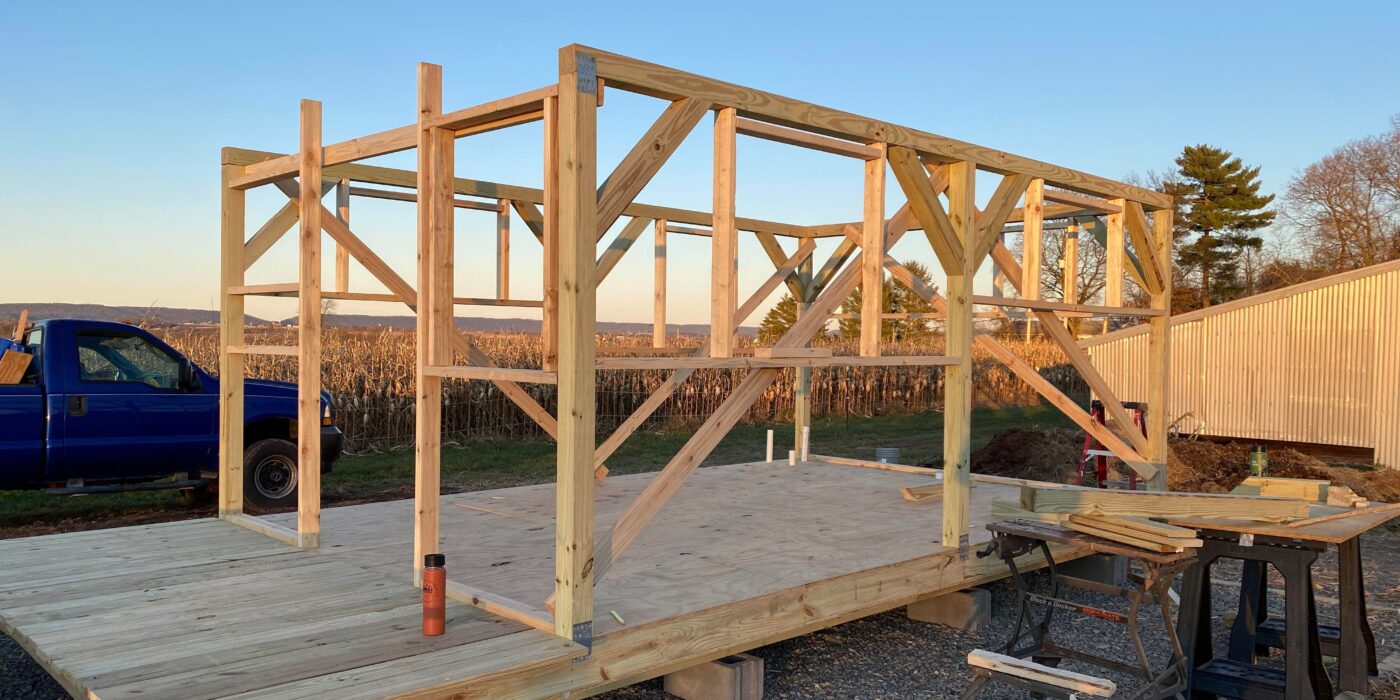
The next step was toenailing each of the six beams to the floor. In this photo, you can also see one of the finished beams with the half lap joints lying on the porch, ready to be installed. Once we had all of the posts toenailed in, we carefully lifted the beams on top of the posts and nailed them in.
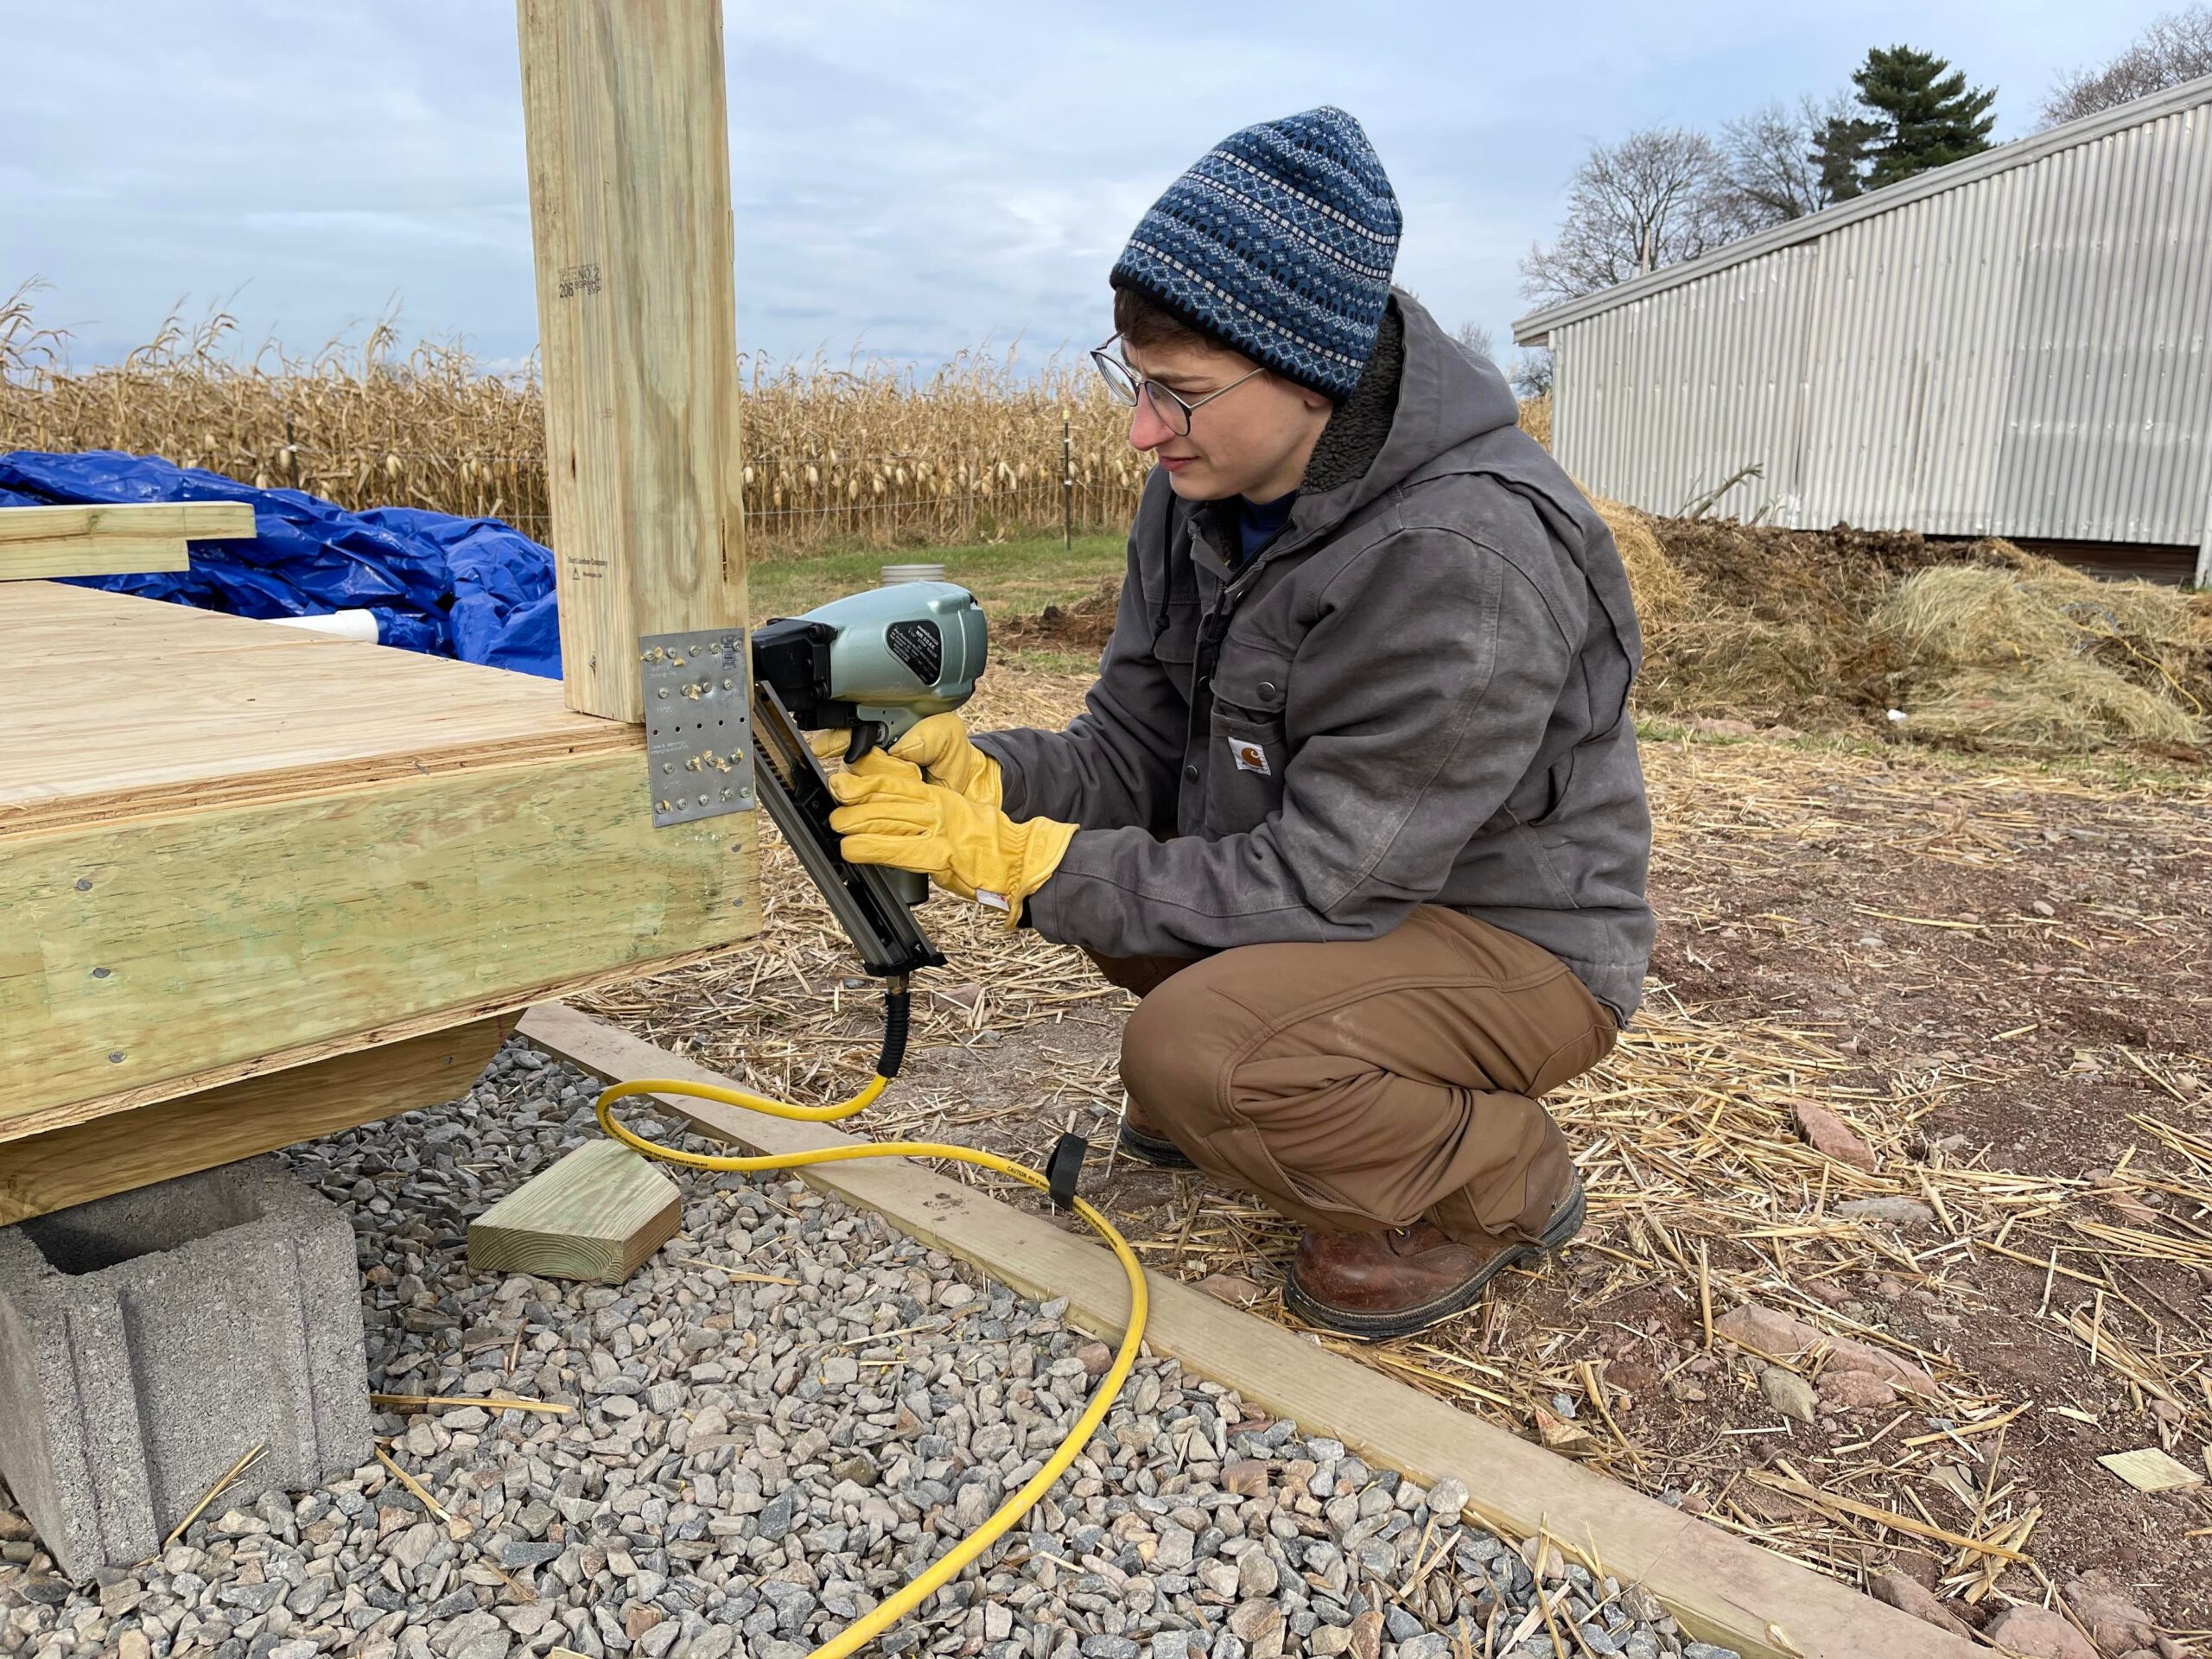
To reinforce the connection points, we installed metal tie plates at the bottom of each post to connect it to the floor and at the top of each post to connect it to the beams. This required the purchase of a separate metal fastener nail gun, which was well worth the money given the number of nails required for this and later work on the rafters.
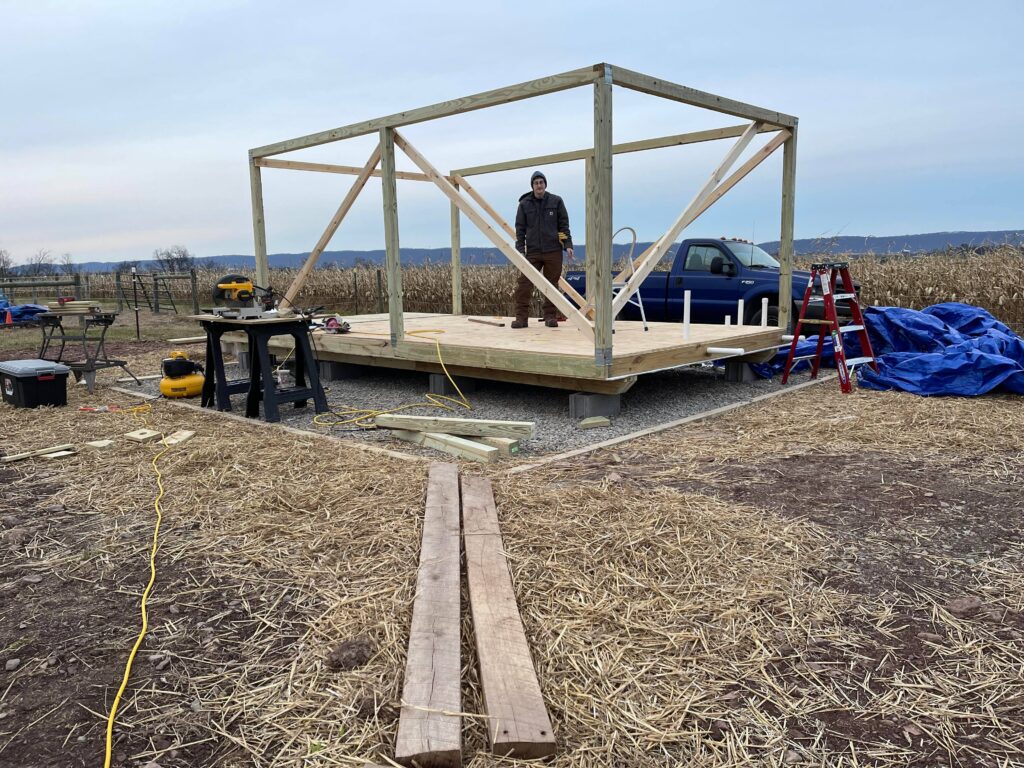
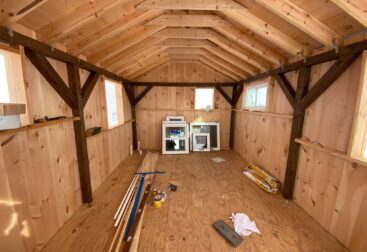
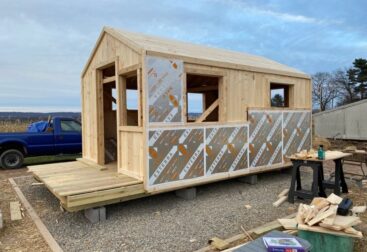
Once we installed the tie plates, we moved on to bracing the walls. The bracing boards help stabilize the walls until the structure is more complete and are especially important for keeping everything steady while the rafter installation and ceiling sheathing are done later. Installing these seemed like it would be a super straightforward task, but we actually had to re-do it a couple of times to get all the boards placed where they would both brace the wall successfully and not be in the way of other tasks later, like installing the siding.
Framing the Window Rough Openings
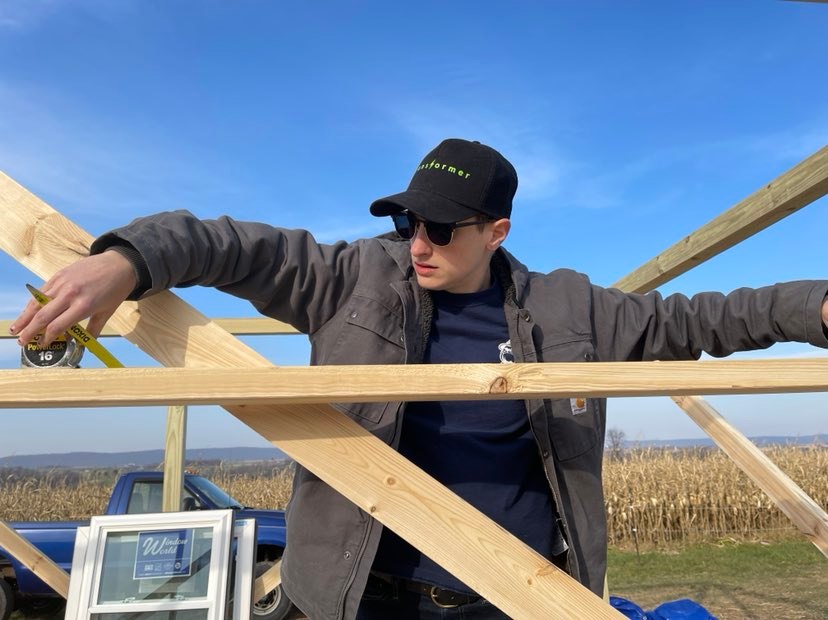
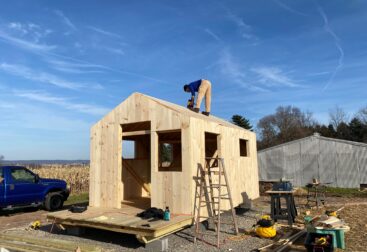
I spent many hours preparing to frame the window openings, since I wanted different window sizes and placements than were specified in the plans. I purchased surplus replacement windows from a local surplus building supply store and all of the windows were slightly different shapes and sizes, which meant figuring out the correct dimensions for six different rough openings. This was easier to do with these plans than it would have been with plans with standard stud framed walls, since the post and beam construction allows for window placement almost anywhere.
Once I refined the measurements, the actual framing of the rough openings went smoothly — just tacking together 2x4s with the framing nailer.
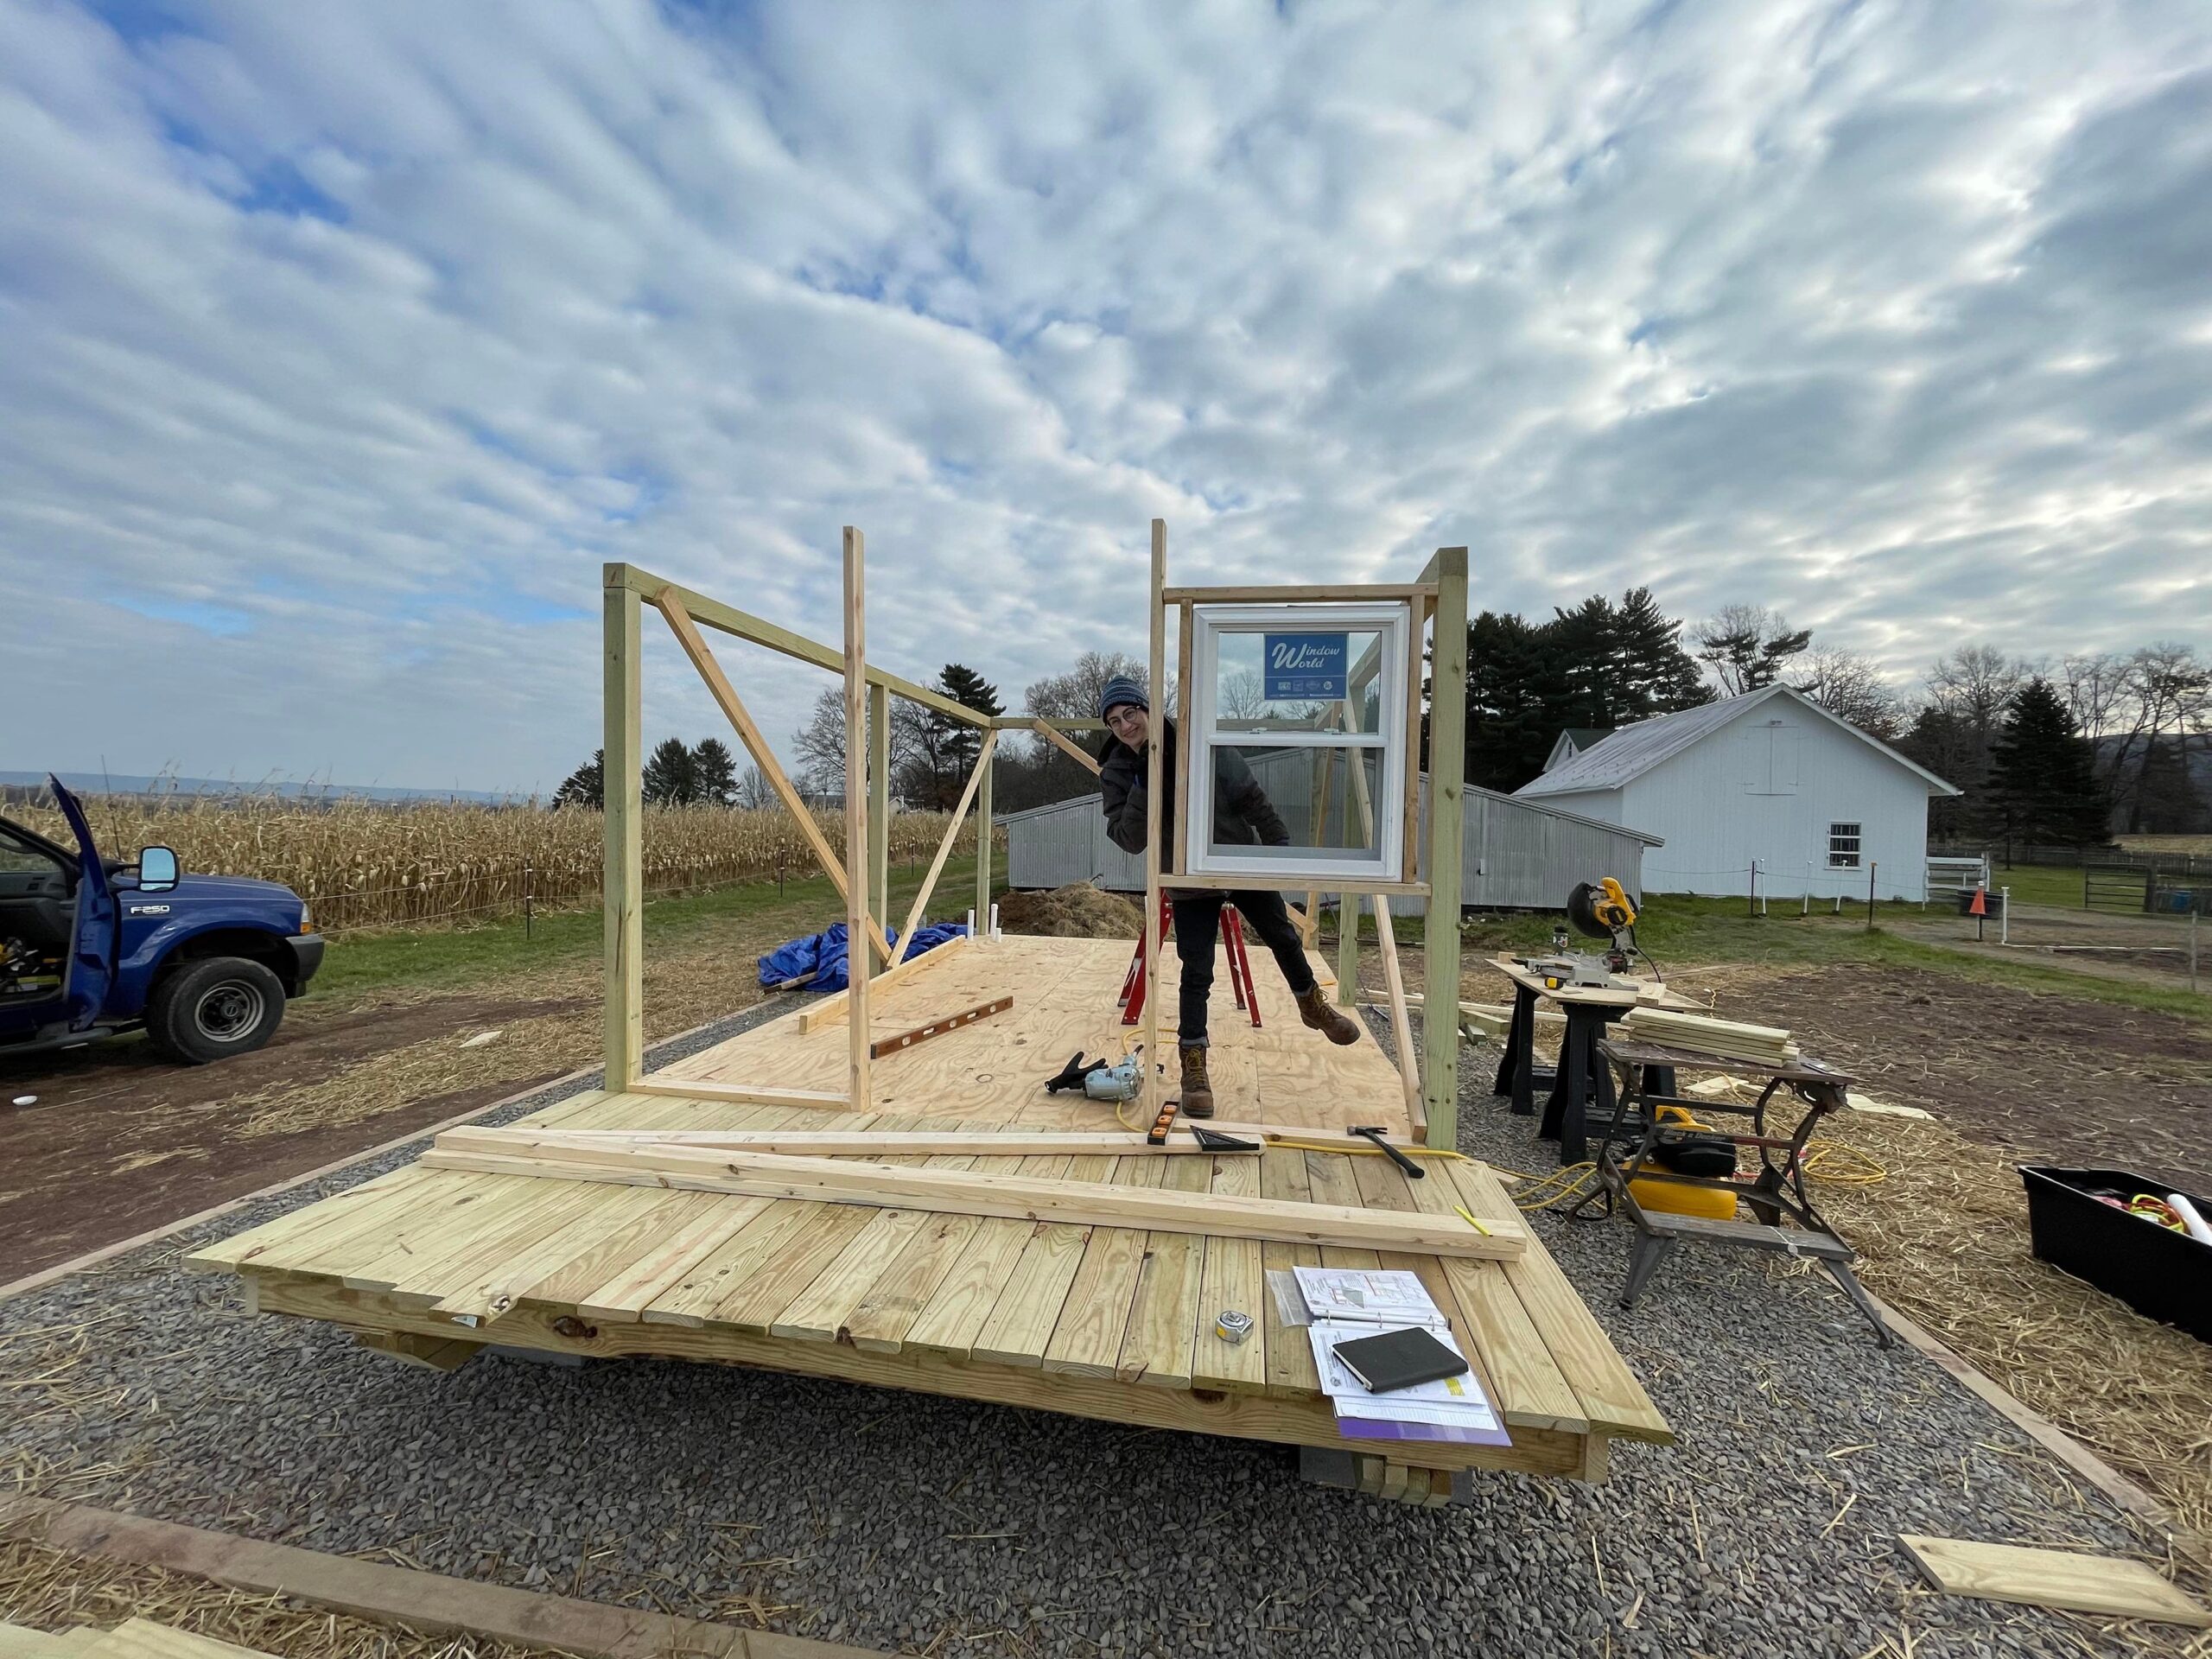
After framing each rough opening, we dry fit the windows to make sure the openings were the correct size before proceeding. Luckily, all the windows fit with enough room to spare for installing our sloped sills and flashing later on.
