Door Installation
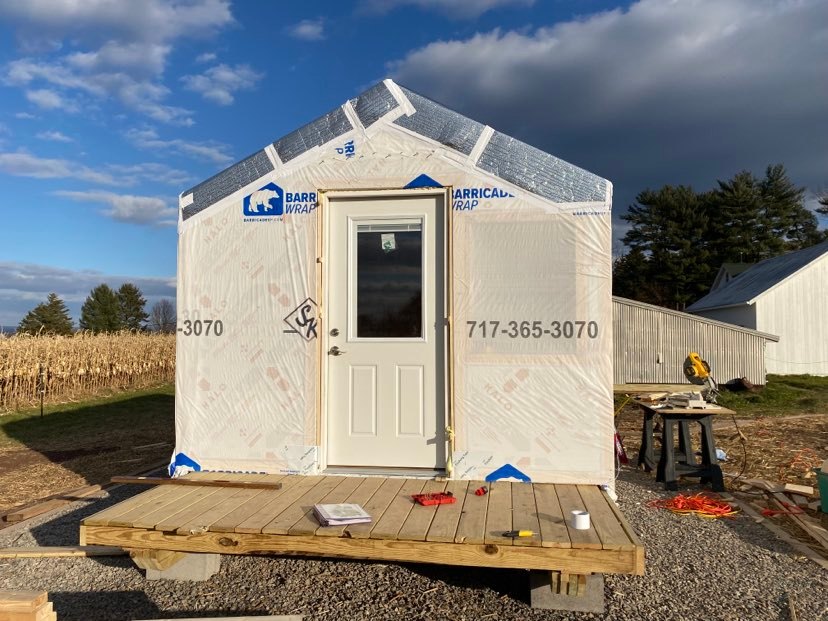
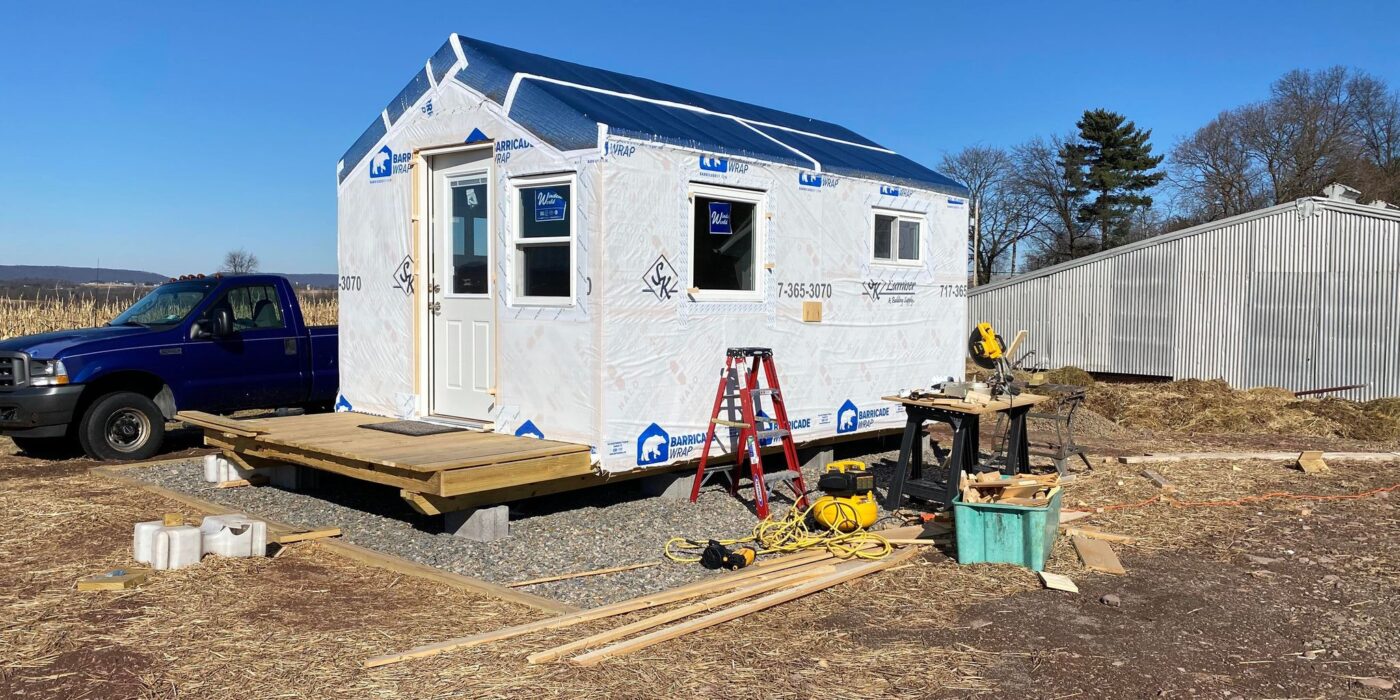
The door installation was our final task before breaking for the holidays, as it was the last step to get the house weathertight enough to leave for several weeks. The installation was quite finicky and took several hours, requiring troubleshooting input from both my parents to sort out how to get the door plumb and square and adjust the threshold to actually allow the door to close. We also realized we had to cut back the deck boards to allow us to install the flashing properly, which meant crawling under the deck to install new boards to secure the shorter decking to.
Window Flashing and Installation
Once I returned to start work again on the house in February, my first task was cutting open the house wrap and installing the windows. I was quite nervous as these were my first window installations and I was doing most of the work solo. After carefully cutting the house wrap open in the shape of an upside-down martini glass, my first task was to install the sloped sill. It’s very important for the window to sit on a sill that slopes outward so that water can drain out rather than pooling underneath the window or coming into the house. Many people use leftover pieces of beveled siding for this purpose, but as my siding is board-and-batten, I didn’t have any such siding to use. Instead, I framed the window rough openings an extra inch taller than the windows so I could install 1×6″ boards for the sill, creating the slope by shimming underneath the boards from the inside of the house and nailing through the shims.
After the sill was installed, I then secured the flaps of house wrap with staples and began installing the window flashing tape. The flashing tape is installed shingle-style, starting at the bottom and moving up so that water flows down over the seams rather than getting stuck underneath them. The corners were the most difficult part, as they necessitated cutting flaps in the flashing tape to wrap around the corners.
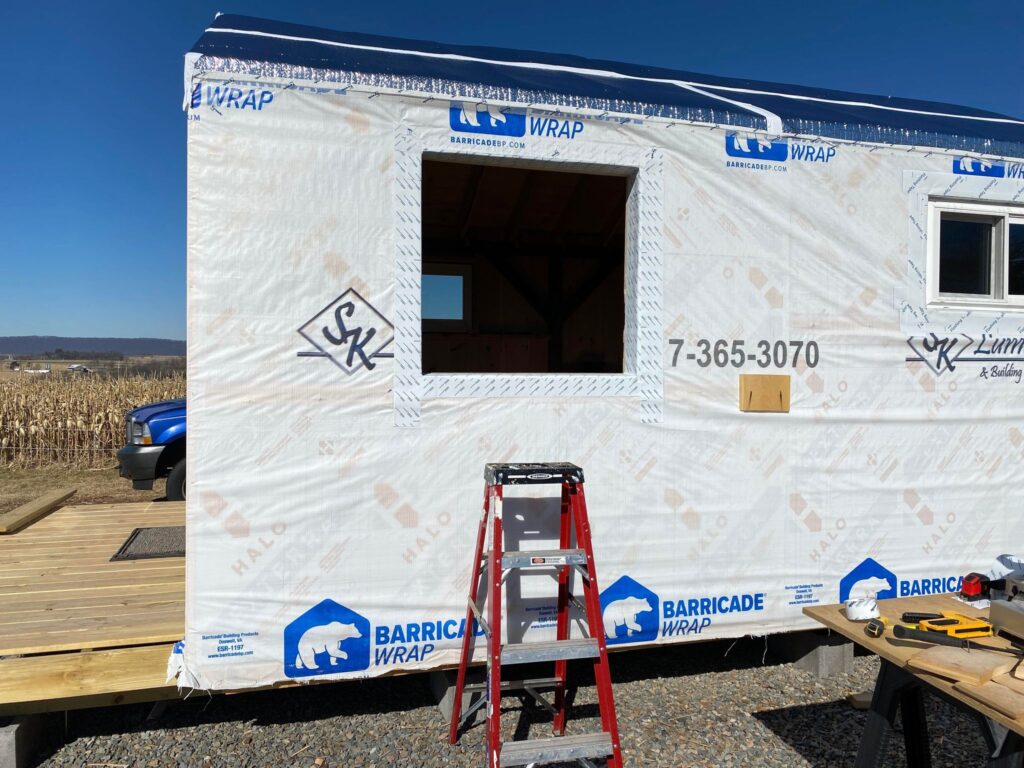
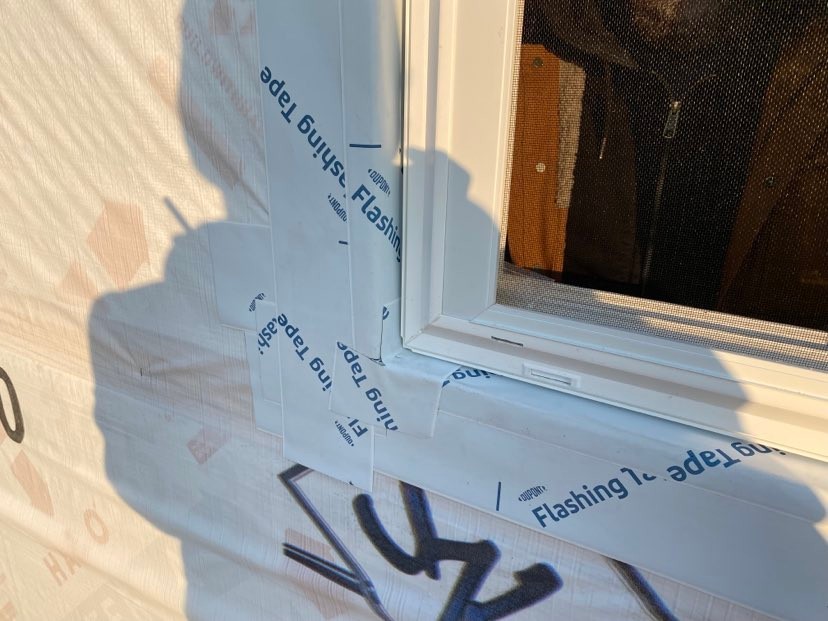
Once the flashing was complete, it was time to install the windows. For most of the windows, I was able to lift them into rough openings, get them plumb and square, and screw them into place on my own. For the larger windows, I got assistance from my parents to help hold them in place. For the most part the installation went smoothly, though I did have to re-do two of the windows after discovering they shifted out of position while I screwed them in.
Quarter Round and Caulking
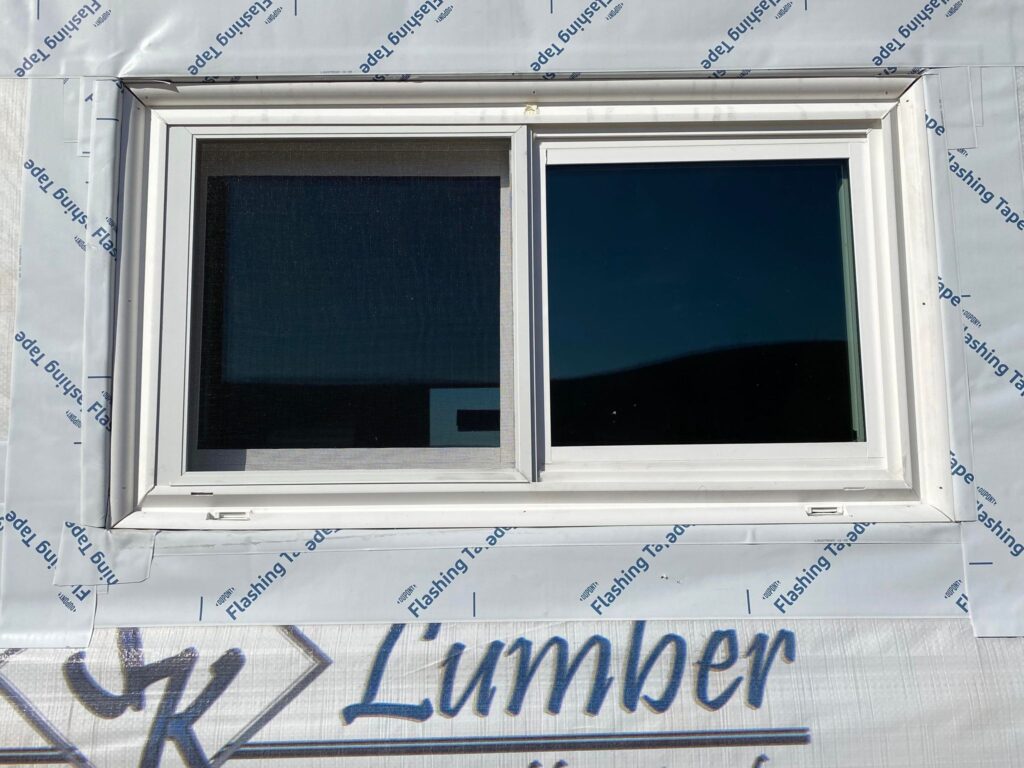
Because I purchased surplus replacement windows rather than new construction windows with nailing flanges, I had to tackle a couple of extra steps before the window installation was complete. Without the nailing flanges on the outside of the windows securing the window to the house framing, I needed to install exterior stops to help hold the windows in place. To facilitate this, I placed the windows 3/4″ back from the outside edge of the window opening to allow me to nail in 3/4″ quarter round trim immediately in front of the window as an exterior stop.
Figuring out how to cut the angled ends of the quarter round so they joined together proved to be a challenge and I made so many mistakes in the initial stages that I had to go purchase additional quarter round to complete the project. When I was partway-though, I also realized that the 3/4″ quarter round was too wide for my awning and casement windows, which only had space for 1/2″ quarter round between the rough opening and the moving parts of the windows. That meant another trip to the lumber yard for more supplies. Two of my windows also have weep holes to allow water to drain out of the windows, which required me to cut out portions of the quarter round using the oscillating multitool so that the quarter round would not block the weep holes.
Once I finished troubleshooting and installing the quarter round, it was time to caulk the windows. I ran beads of caulk on both sides of the quarter round, sealing it to both the window itself and to the framing/flashing. The windows have since made it through several rain and snow storms without leaking, so I am quite pleased with my work.
There are still two steps to complete before the windows are fully installed, but I plan to tackle those in a couple of weeks once I’m working more on the interior. I will have to install interior stops on the inside of the windows, using pine trim to match the interior sheathing. I’ll then caulk the trim to finish making the windows fully watertight.
